
Hi everyone!
Now it´s time for my first war report! (Hannes here, resident Dweghom enjoyer!)
It was my eighth game but the Dweghom are still angry and going to war. Because of that the bloodbath between our factions would be glorious. And like every time: It was a blast to play against Daniel/exTune!
This time I still play the Ardent List. And this time I want to remember the Terrifying from the First in the Fray upgrade. I always forgot about that and before I change my List I wanted to try it one more time.
My List
=== The Last Argument of Kings ===
Ardent Dwegwaaaagh [2000/2000]
Dweghom
The Ardent Creed
== (Warlord) Ardent Kerawegh [130]: Relentless March
* Flame Berserkers (3) [155]:
* Flame Berserkers (3) [155]:
* Wardens (3) [180]:
* Wardens (3) [180]:
== Ardent Kerawegh [155]: The Crown of Ushkelodh, First in the Fray
* Wardens (3) [180]:
* Flame Berserkers (3) [155]:
== Tempered Sorcerer [110]: Fire School
* Hold Ballistae (3) [145]: Herald of Fire
* Hold Warriors (3) [145]: Herald of Fire
== Lost Ancestor [130]: Champion’s Horns, Steel School, Bloody-Minded Focus
* Lost (3) [180]:
My opponent brings his Tribal List with Mortals and Exalted. This time the army will be accompanied by an Ice Jotnar.
Opponents List:
=== The Last Argument of Kings ===
Konny with jötnar again? [2000/2000]
Nords
== (Warlord) Konungyr [150]: Elding, the Skypiercer
* Bow-Chosen (3) [180]:
* Bow-Chosen (3) [180]:
* Steel-Chosen (3) [165]: Shield Biter
* Ice Jotnar (1) [240]:
== Jarl [120]: Blóðíss, the Blood Thirster
* Raiders (3) [130]: Captain
* Raiders (3) [130]: Captain
* Bearsarks (3) [165]: Shield Biter
* Steel-Chosen (3) [160]:
== Volva [100]:
* Huskarls (3) [150]:
* Raiders (3) [130]: Captain
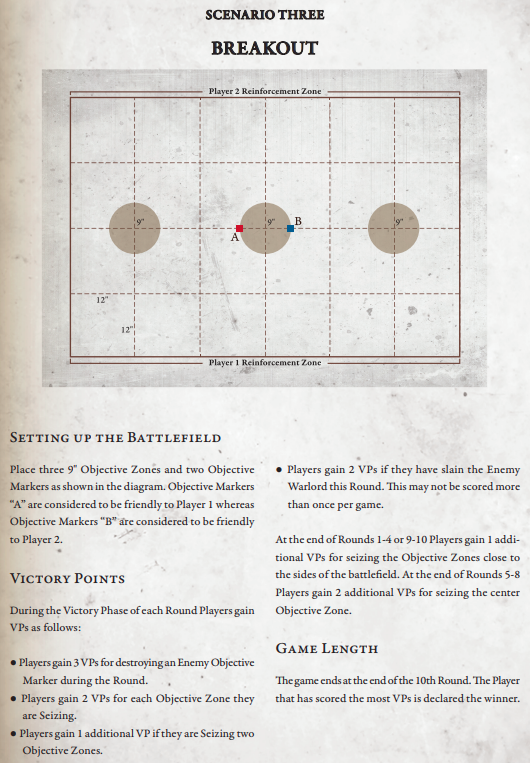
As the scenario we played Breakout. New for both of us was the terrain setup. That was one of the terrain setups that will be used at D20 later down the year. As we prepare for that tournament we decided to give it a good try.
Turn 1
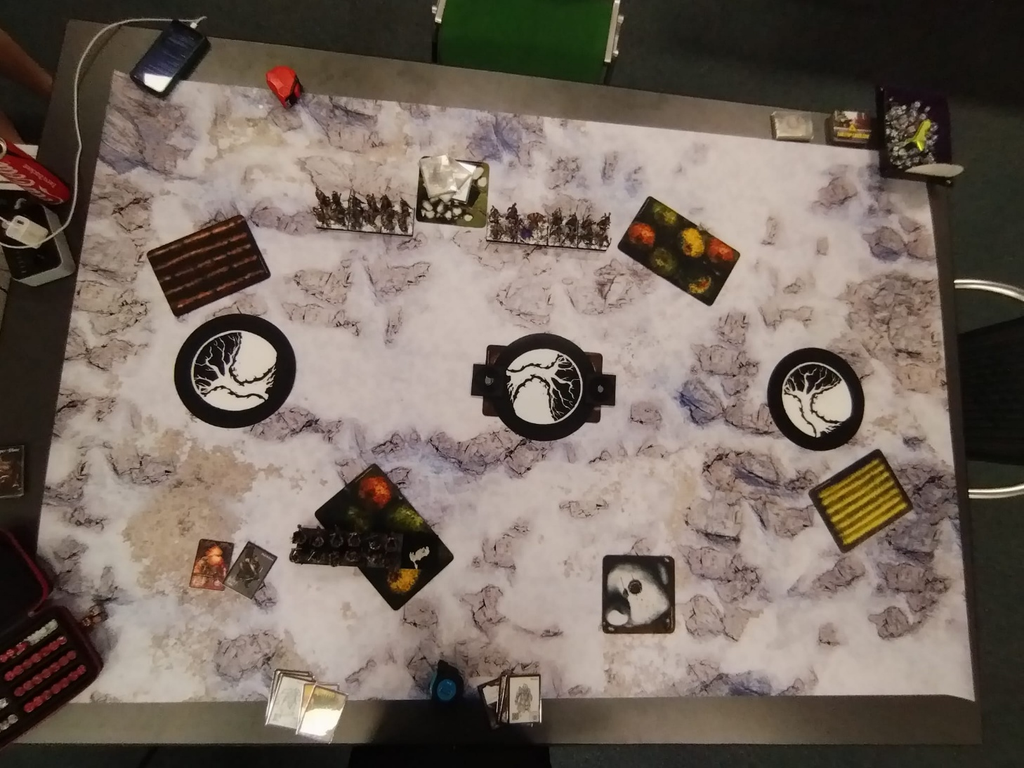
The terrain setup: Three times forest dividing the map with the middle forest all over the Objective and the Objective Markers. On the other sides were fields on the map while the big rocks divided our one reinforcement lines.
My Opponent got this second Bow Chosen but I roll bad for reinforcements. All of my Flame Berserkers probably wanted to go first into battle, so they kind of got stuck and waited for the traffic jam to go by.
So my Hold Ballistae with Tempered Sorcerer trampled over some sticks and set camp in the forest. The Nords on the other side grouped up along the big rock.
Turn 2
As bad and slow my first reinforcement was – this time the Dweghom were ready to beat shit up! My Lost with Lost Ancestor as my pick with two of my light units (2x Flame Berserkers) with both times Wardens with Ardent Kerawegh getting along. He got only his Huskarls with Volva and one Raiders.
As I got much more cards that him I could set of my army while the Nords had to show the position of the Huskarls first. So I got the Wardens with the Crown of Ushkelodh on the same side.
My Opponent activated the left Bow Chosen first but wasn’t in range for anything without getting hit my my Hold Ballistae. A bit later his second Bow Chosen with Konungyr got aggressive to shoot at the Objective Marker. As my last two activations my Hold Ballistae and Sorcerer got mostly in ranged and did some damage to the shooty bodyguards of his Warlord.
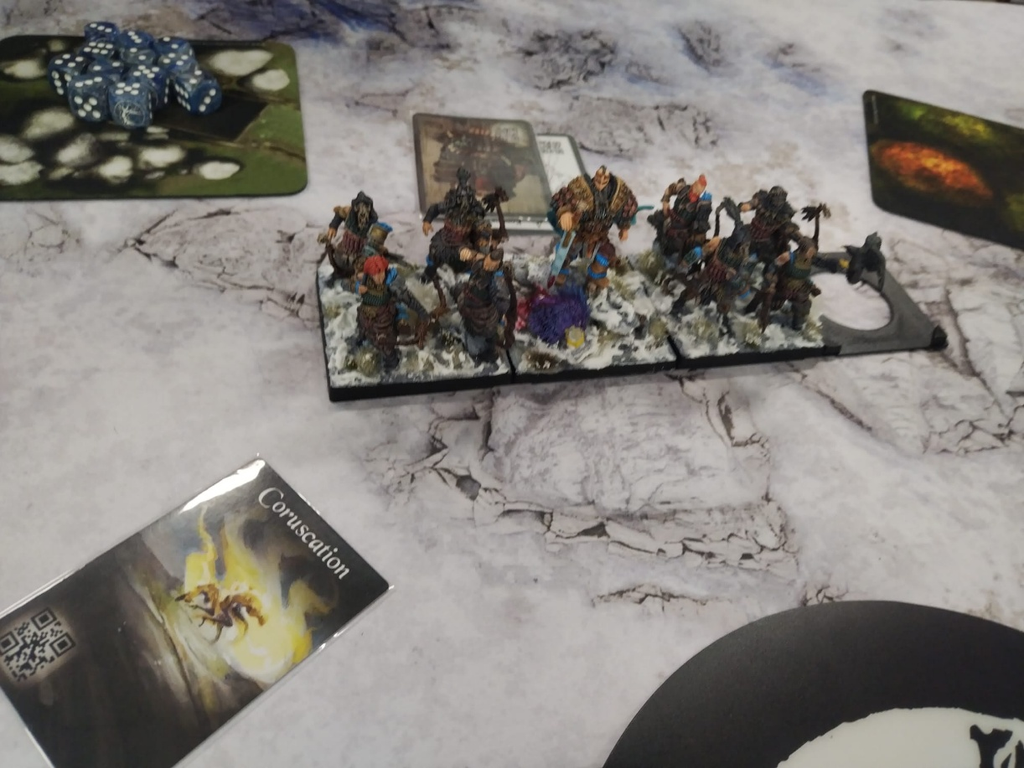
So as the second Turn was finished the battlefield looked like this: On his side left to right his Huskarls with Volva – both Bowchosen – Raiders. On my side the battlefield was much more crowded: Left to right my fast Wardens with Ardent Kerawegh – Hold Ballistae with Sorcerer – Flame Berserkers with Lost and Lost Ancestor behind them – another Flame Berserkers – Wardens with Warlord Ardent Kerawegh.
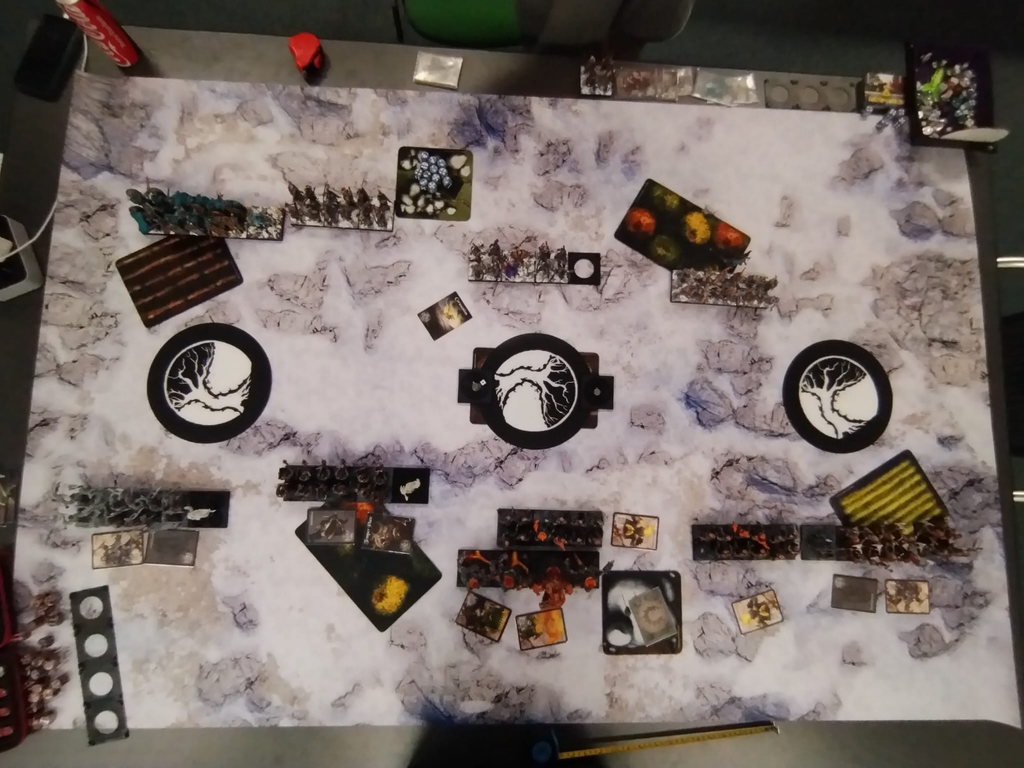
Turn 3
The reinforcements were there! I got the rest of my army while my Opponent got everything beside one Steel Chosen. He choose the Tenacious Tribal Tactics for this turn.
Because of the Roll Off he had to start and chose his damaged Bow Chosen. They sniped another life from his Objective Marker leaving the thing with only one life left.
I decided to march my middle Flame Berserkers trough the forest to sit in the face of the Nords. The Dweghom are ready for war and that unit were the first to accelerate the battle. Because of that he had to bring some raiders right in front of the Bow Chosen to cover for them.
At the flanks of the battlefield his army set up while my forces went on the Objectives ready to score. At this point I decided to ignore the middle Objective and the Objective Marker and get my points on the sides while just beating his army to death. Somethings you just have to keep it simple.
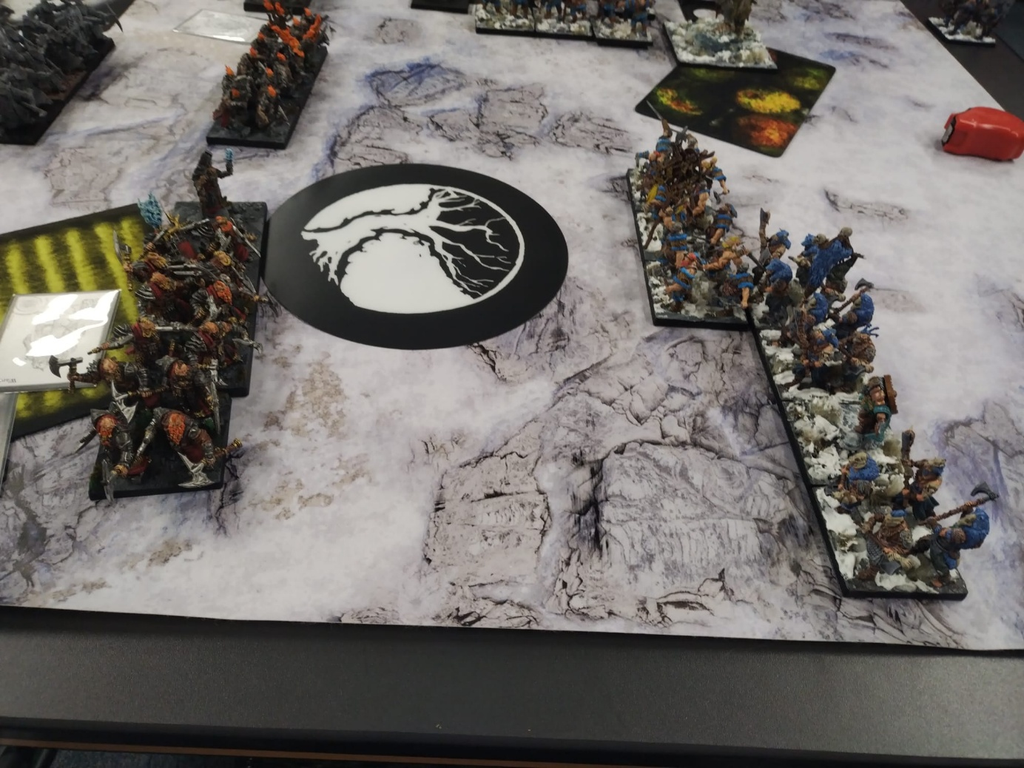
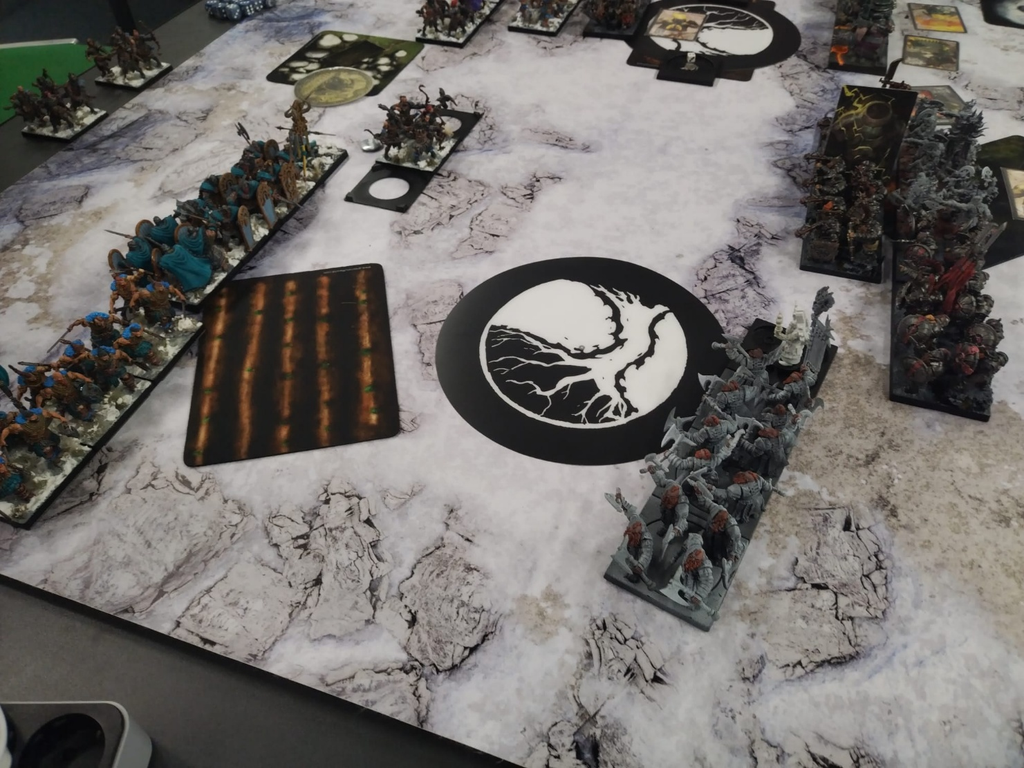
His yet undamaged Bow Chosen wanted to get revenge for their brothers but did only 2 damage on my Hold Ballistae. They countered with fire and magic and killed two stands leaving the Bow Chosen broken. The magic of the Sorcerer did again most of the damage.
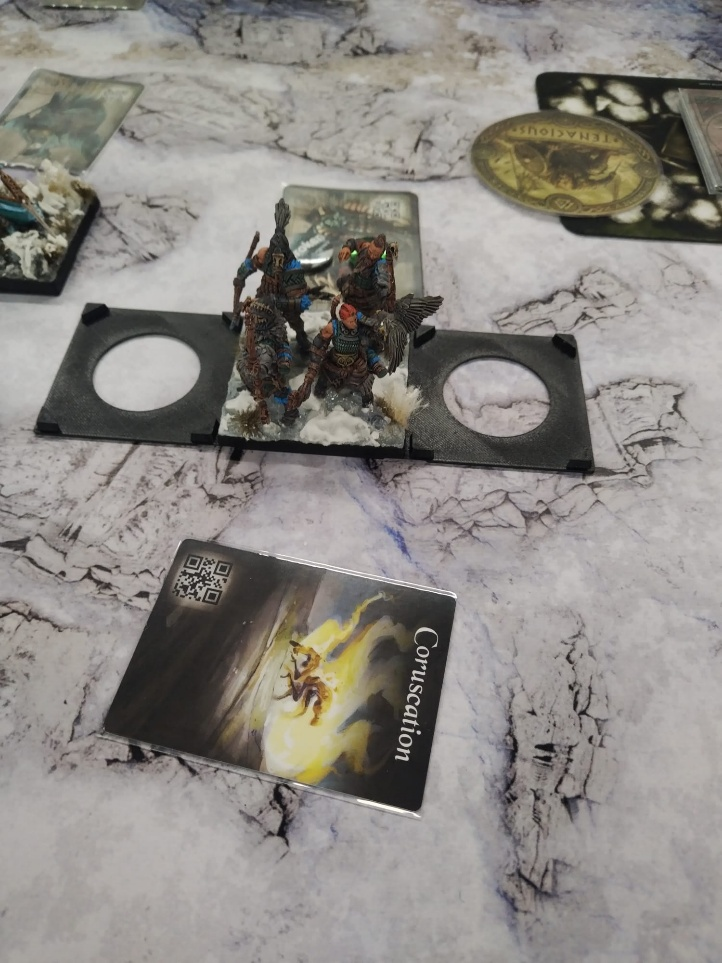
In the middle of the map I re positioned my Lost and my second Flame Berserkers to get ready for the next round. The Nords got their Ice Jotnar in the forest while putting some damage on the Flame Berserkers right in front of time. At the end of the Turn my Opponent charged with his Raiders in my aggressive Flame Berserkers and killed the already damaged stand to get stranded.
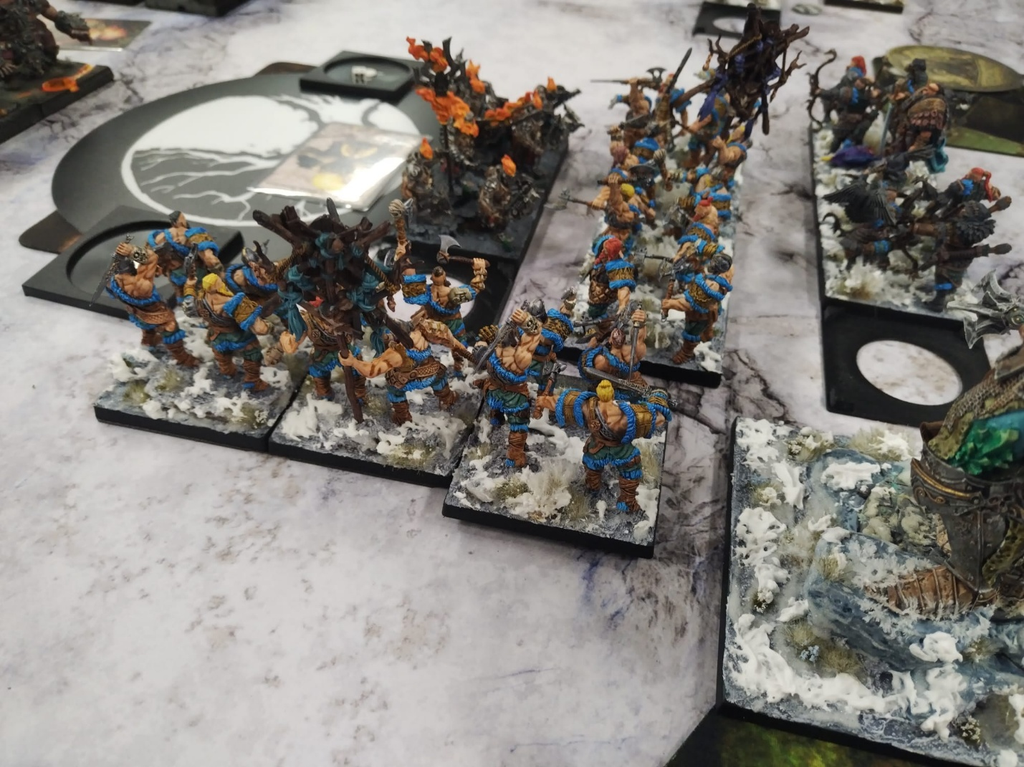
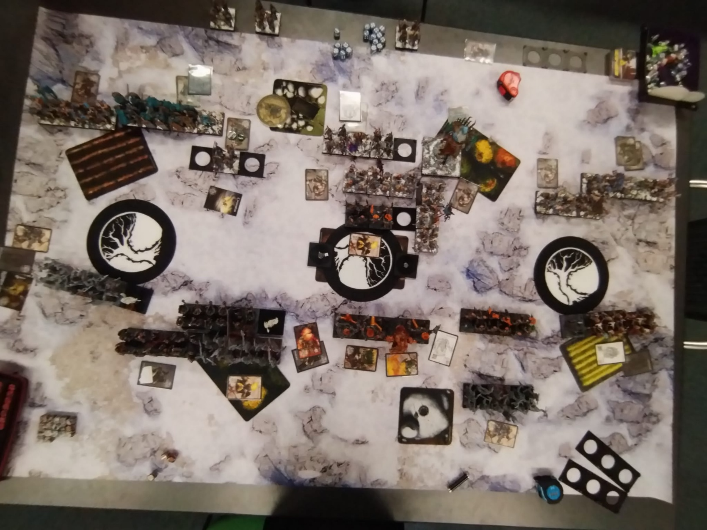
At the end of Turn 3 the battlefield looks like this:
Nords with Steel Chosen – Hurkarls with Volva – Bow Chosen – Bow Chosen with Konungyr, Raiders in front of them – Ice Jotnar with Raiders in his front – Raiders – Bearsarks with Jarl
Dweghom with Wardens with Ardent Kerawegh – Hold Ballistae with Sorcerer, Hold Warriors and Flame Berserkers behind – Flame Berserkers in front with Lost and Lost Ancestor a lot behind them – another Flame Berserkers with Wardens behind them – Wardens with Warlord Ardent Kerawegh
Score: 7-0 for the Dweghom
Turn 4
My Opponent got his last Steel Chosen and chose the “Relentless Blows” Tribal Tactics.
I got first so my right Flame Berserkers charged his Raiders in the back and destroyed them. The other Raiders in the middle countered with a charge at my Flame Berserkers killing a stand. After that we traded units: I destroyed his already damaged Bow Chosen on the left while his Bow Chosen moved to the side to shoot the engaged Flame Berserkers and killing them.
The battle went on in the middle of the battlefield. I march charged his Raiders with my Lost and Lost Ancestor to be ready for war next round. He charged with his Ice Jotnar my Flame Berserkers and killed 2 Stands with his might and magic. He would have done more damage but my Lost Ancestor shielded the Flame Berserkers with Temper Plate.
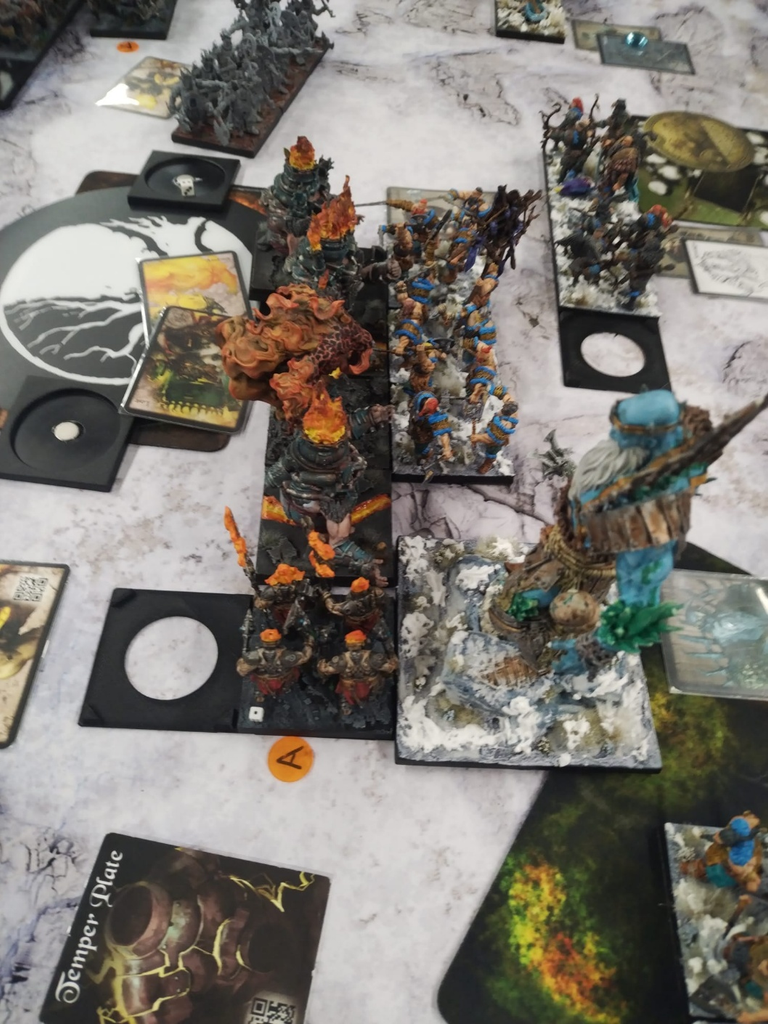
On the left flank my Opponent had to activate his Raiders because I killed the first one before they activated. He didn’t want to give me an Auto-Charge-Clash and stayed outside of that range with his Raiders. Because of my scoring at the Objective, I barley moved my Wardens. We both got our new Units in position: his new arriving Steel Forged and my Wardens.
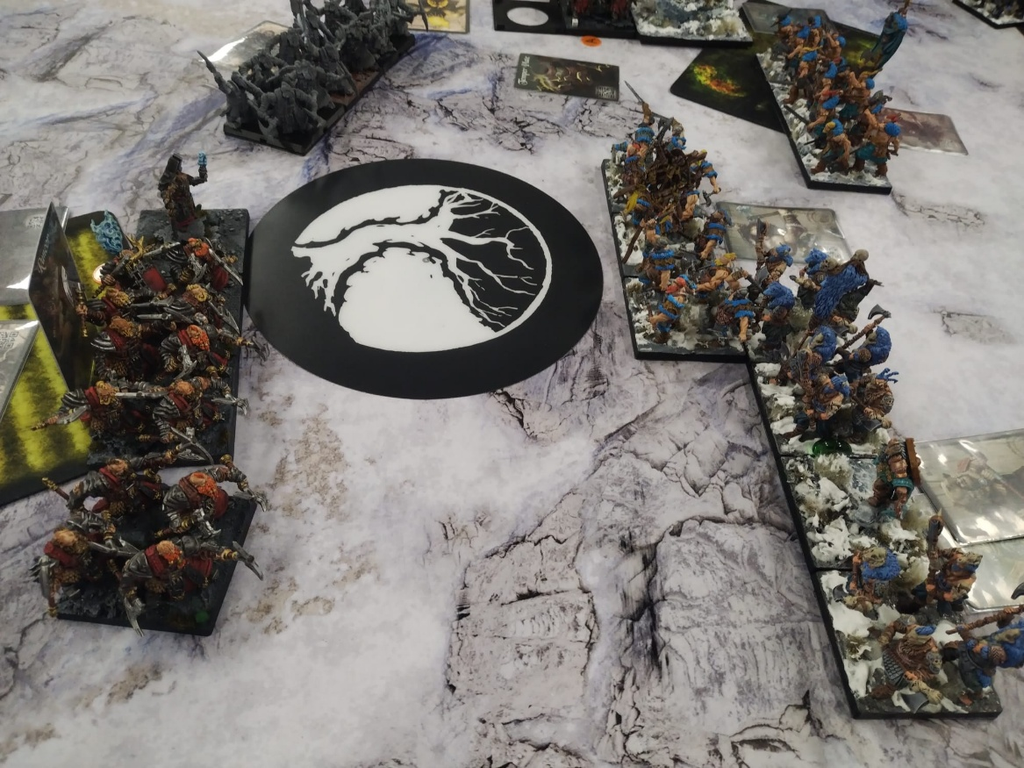
At the other side of the battlefield, I advanced my Flame Berserkers to threaten his Bow Chosen while giving a flank to the Huskarls. What went well for my twice can maybe work thrice! He wanted to charge me in the front but sadly failed the charge on 4 even with Unstoppable. Because of that failed attempt and some tip-toe-ing not much is changing on his flank. In the end I tried to free my Hold Warriors.
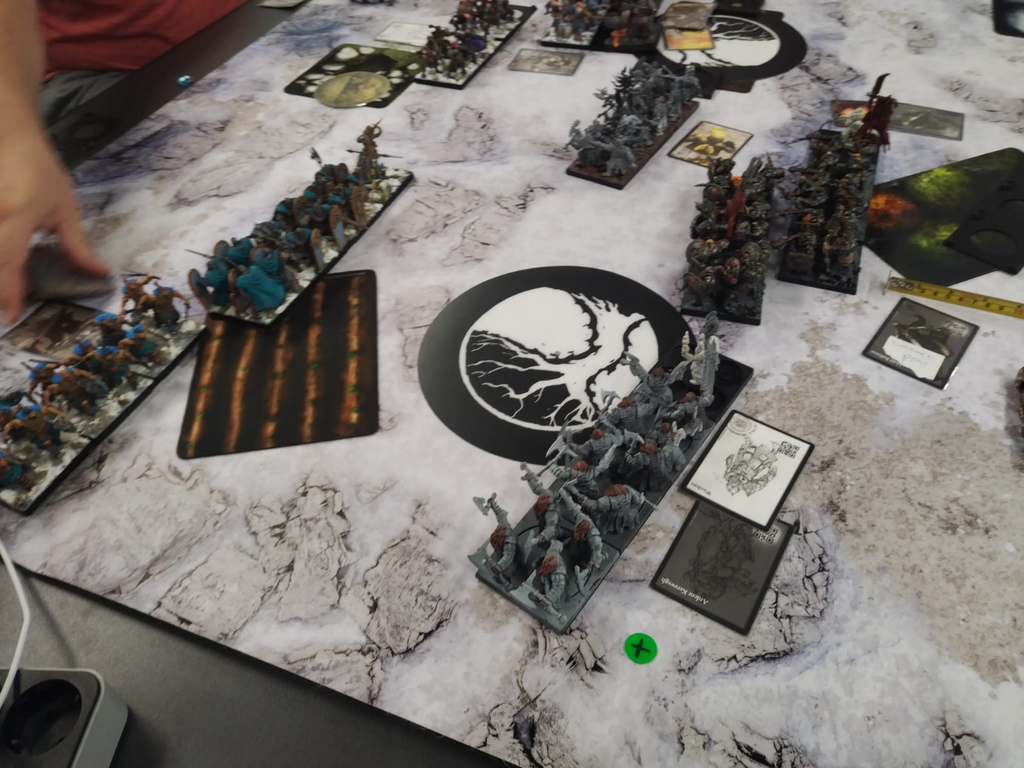
Because I killed one more unactivated this turn than my opponent and my units were slightly faster than him I got in good positions this game. Maybe with that charge with the Huskarls the battle would have ended otherwise.
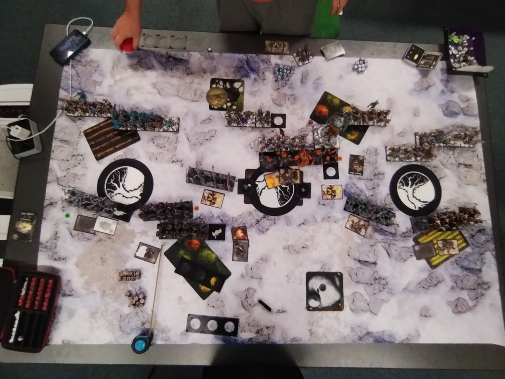
Here you can see all the units at the end of Turn 4. Because I already wrote multiple times what unit where is there is no need for naming all the units and the end of the turn – for this turn and in the future.
Score: 14-0 for the Dweghom
Turn 5
This Turn there will be a bloodbath. Because of this both of us used our supremacy abilities: All Tribal Tactics vs heal for my damaged units and everything gets Lethal Demise galore.
He got the win at the Roll Off and charged with his Raiders in my Wardens with my Warlord.
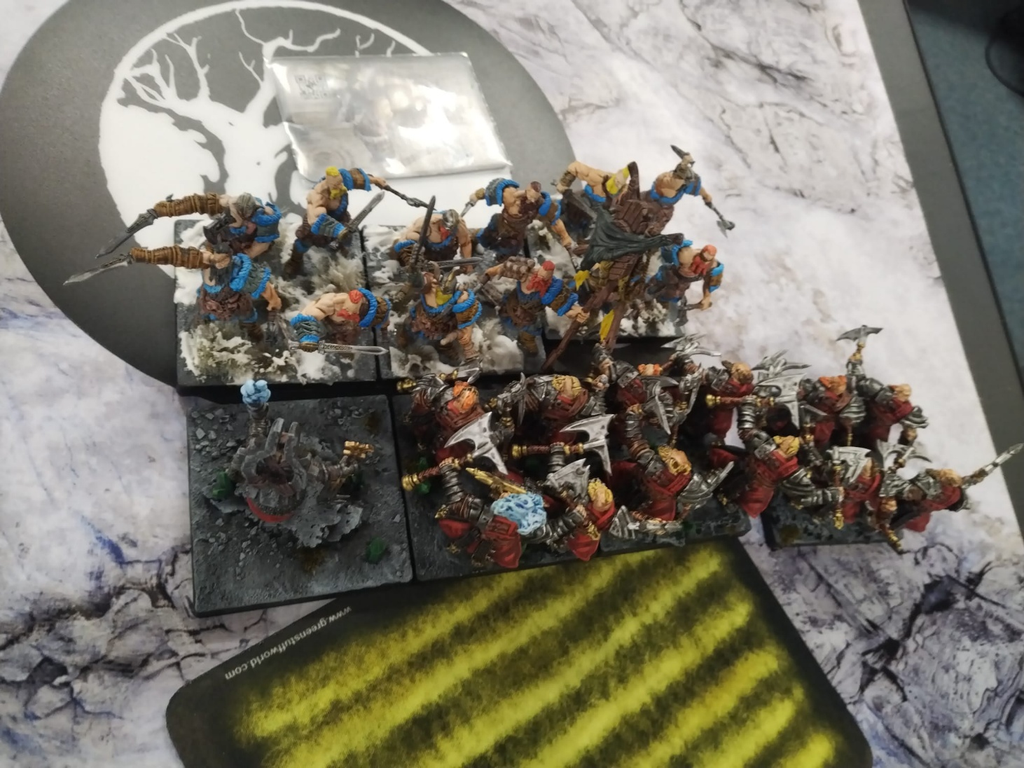
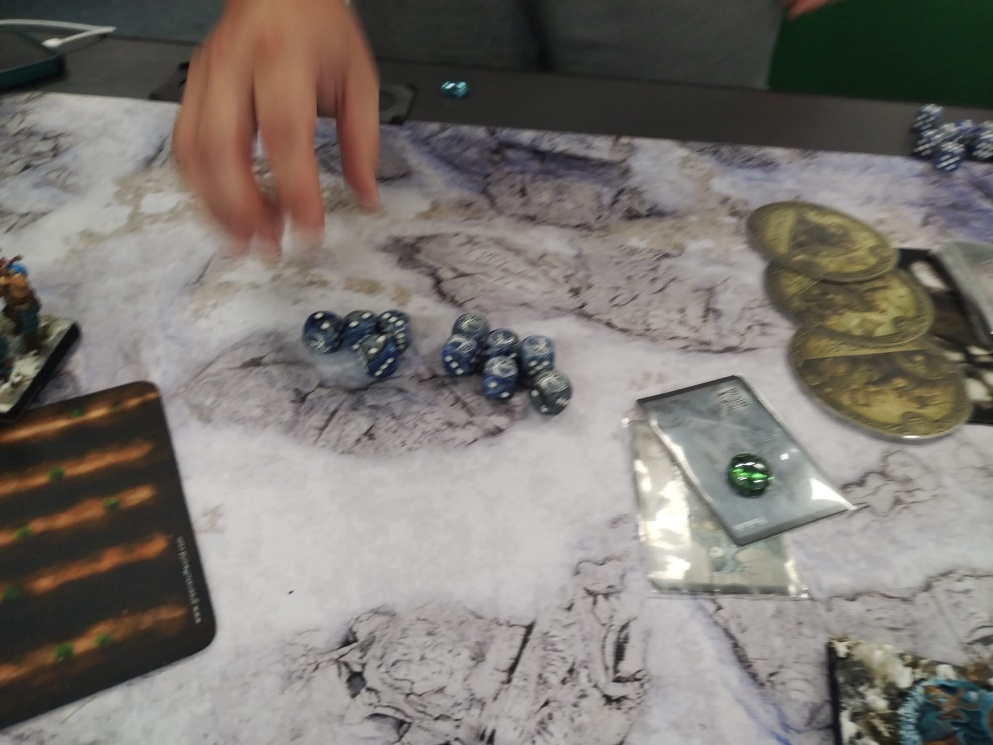
That Raiders wanted to die fighting and they hit like a truck – or a Dragon or something like that… With really good rolls on this side with Relentless Blows – paired with abysmal rolls on my side – they killed my whole unit! But with 16 Lethal Demise and Die Fighting my Unit atleast killed their executioners!
Here Pictures of his roll and the aftermath of the fight:
My Lost countered with the decimation of the Raiders in the middle:
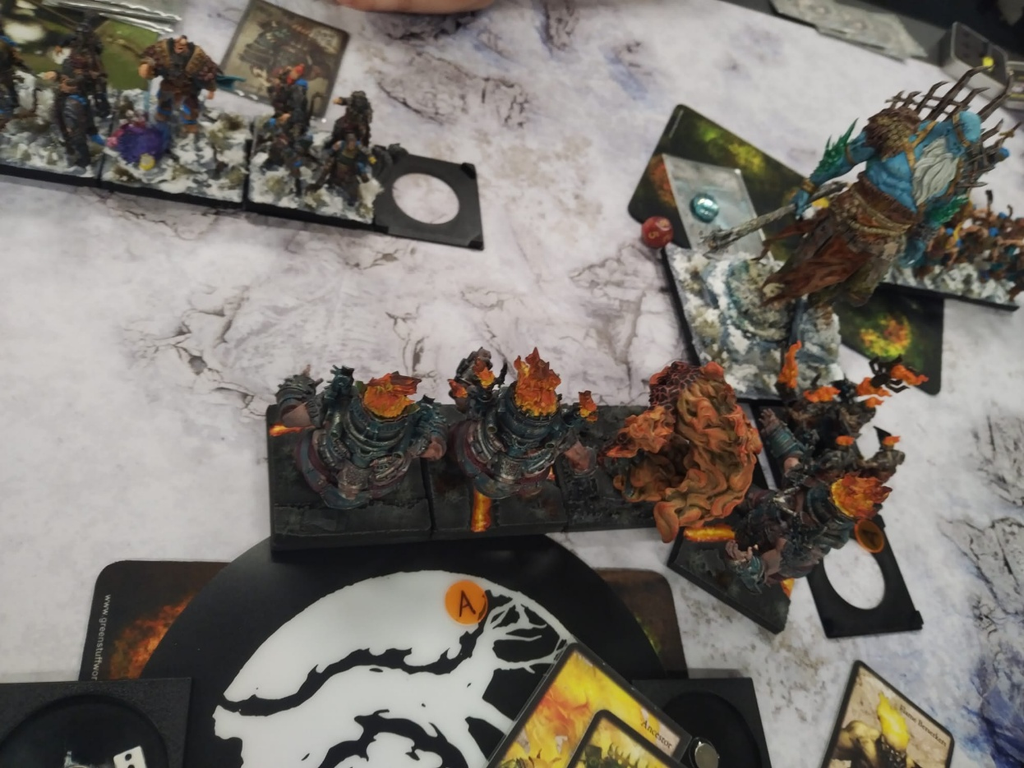
The bloodbath went on and the Nords decided to help their Warlord. So the Huskarls with Volva charged my Flame Berserkers in the flank. Whats get normal units killed was not enough for my Berserkers. One Stand survived but didn’t do much damage on the return. After that we traded for some Character Cards to stall some time.
Then my Wardens charged the Huskarls in the Rear – decimating everybody of them. My Opponent only could March-Charge my Warders so decided to get some points at the Objective.
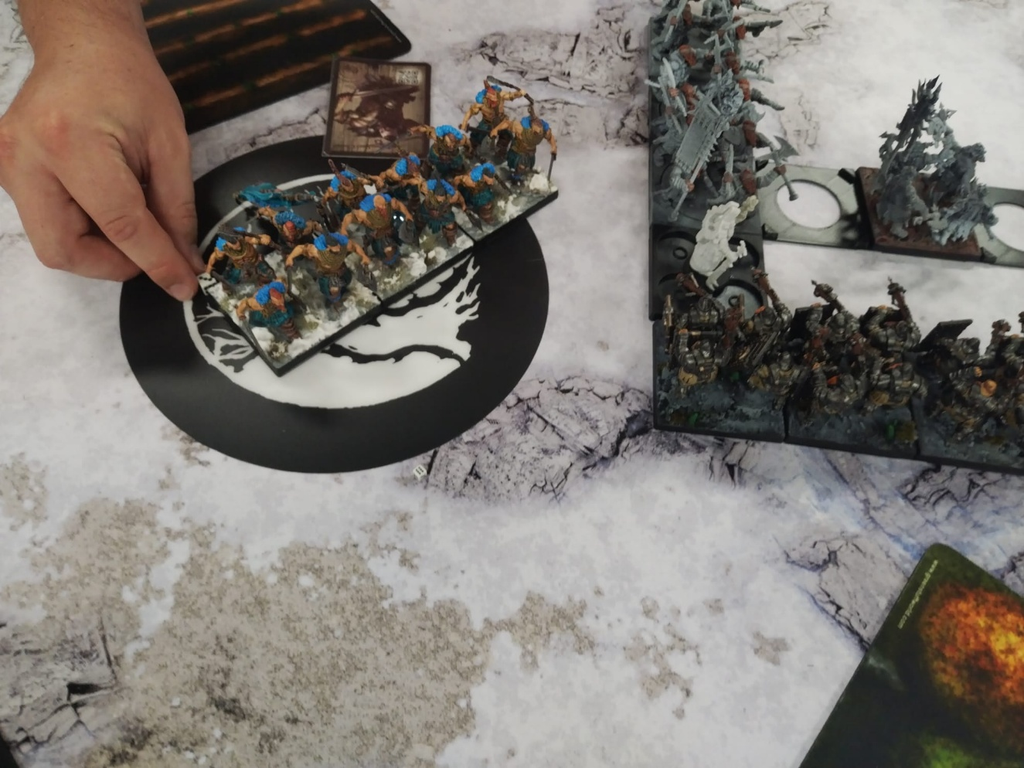
His Warlord and Bow Chosen shot my Lost, killing a stand. My Hold Ballistae with my Sorcerer after them killed what was left of the Bow Chosen. The Objective Marker in the middle is still standing with 2 of 3 wounds left. Close but sadly for my Opponent not enough!
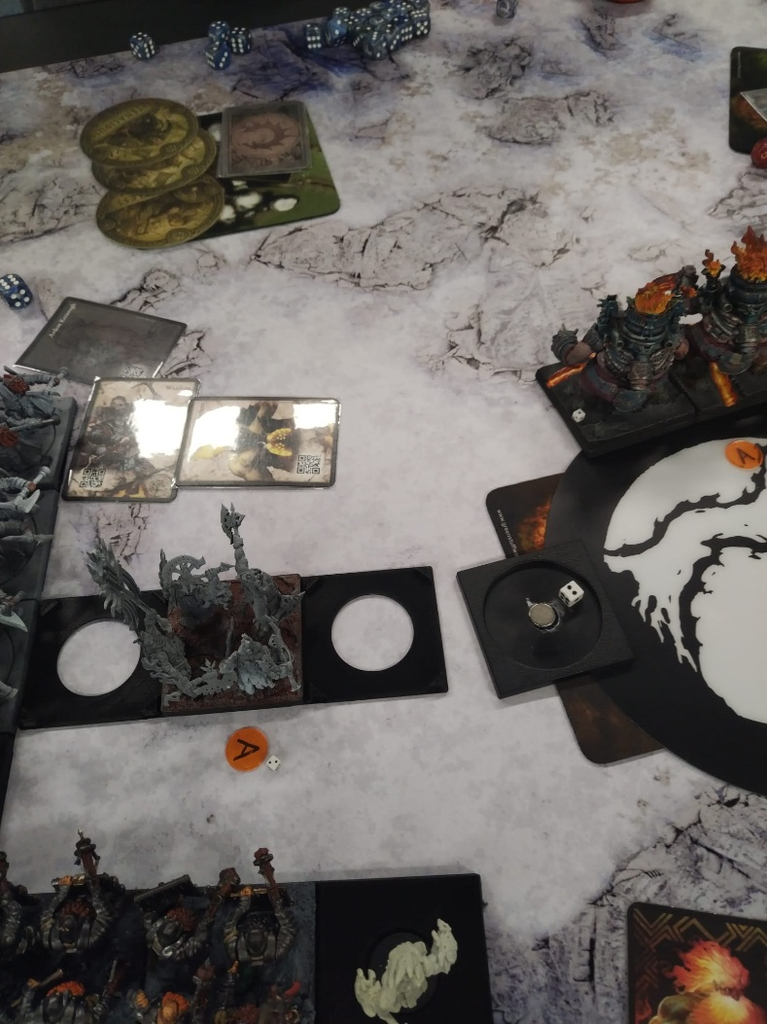
On the other side his Ice Jotnar count kill my now fully healed Flame Berserker Stand at his own so some Steel Chosen came to the rescue. That death resulted in a dead stand of Steel Chosen as well.
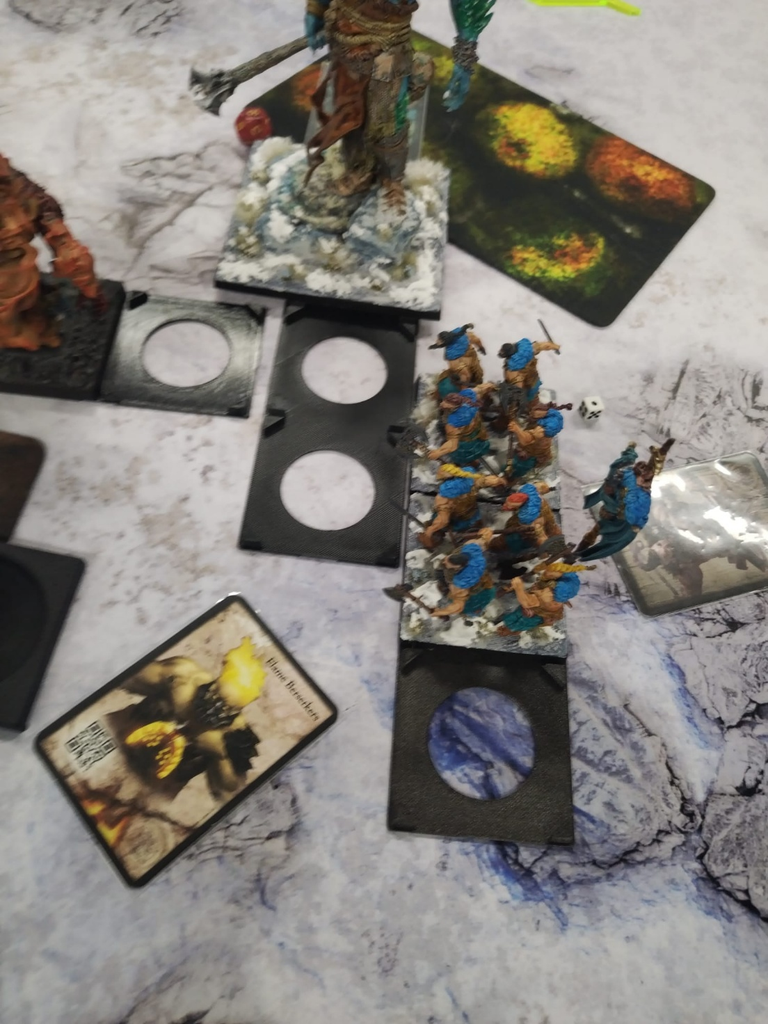
On the left flank my Wardens ran backwards as much as they could to not become a Jumppad for the Bearsarks. The Bearsarks claimed the Objective so score more points.
At the end I moved my Hold Warriors on the Objective to deny him some ponts.
This turn my Opponent scored 2 points with the right Objective while we both got 2 for killing the Enemy Warlord. Score: 16-4 in Favor of me.
Turn 6
I got lucky and got first. With my Lost I attacked his wounded Ice Jotnar – killing him in the process. His Steel Chosen charged the Lost and killed one stand – Lost Ancestor with one stand of Lost alive.
On the other side my Hold Warriors charged his Steel Chosen. And they did almost nothing: only two wounds! They would be better of doing nothing, because the Steel Chosen clashed them withing Inspiring – killing them entirely – and charging my Wardens in the back.
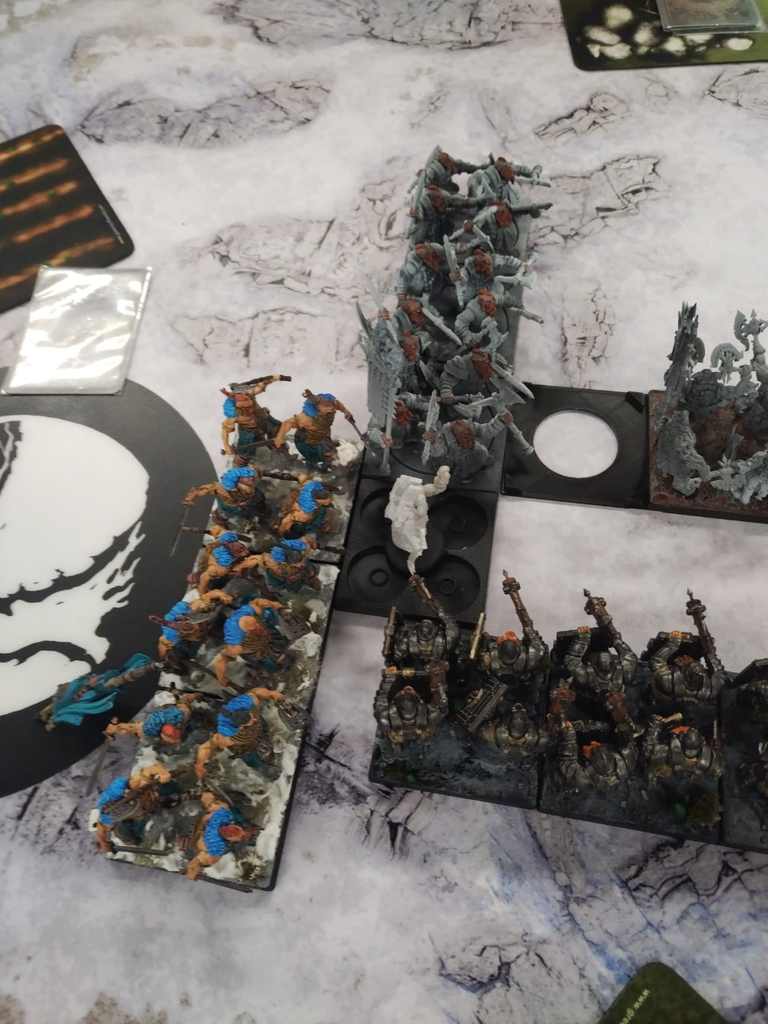
My Hold Ballistae reformed and shot at Steel Chosen. With that maneuver they made some room for a Combat Reform of the Wardens. After that the Wardens chopped the Steel Chosen to death. My Flame Berserkers March-Charged the still living Steel Chosen while the Bearsarks stood their ground on the Objective.
Score: 16-6 in Favor of Dweghom
Turn 7:
We decided to cut the Game short at this point. We made a final Roll-Off. The Nords went first and killed my Lost while dying themselves to all the Lethal Demise and Die Fighting.
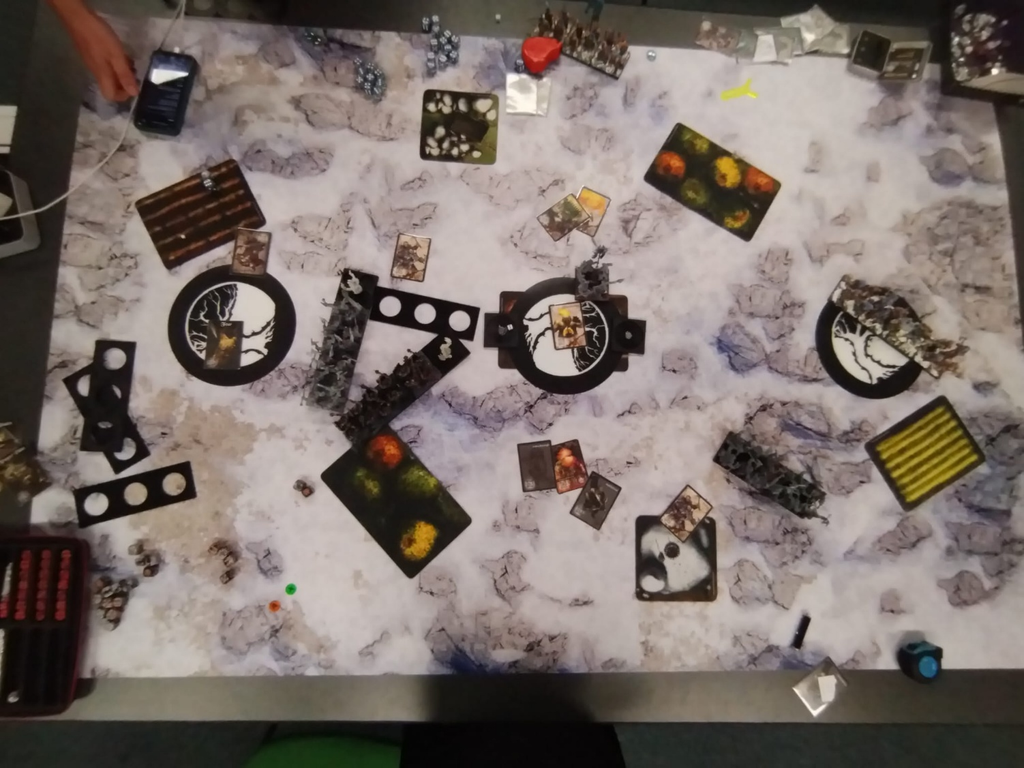
We decided, that my Wardens with the Ardent Kerawegh and his Bearsarks with Jarl will hold their Objectives to the end of the match. My Flame Berserker, Hold Ballistae and Wardens will kill the Objective Marker in the middle and score that Objective next round.
So the final Score was 40-16 in Favor of Dweghom.
Afterthoughts:
The decision to ignore the Objective Marker and the position of my Flame Berserkers were enough to get the rest of my army into a good position. After some matches now I get more of the little tweaks you can do when positioning. Even his heat-seeking-missile of basic Raiders couldn’t win him the game but I still was hard to swallow. My Opponent played really well but because of my speed he often had no really good thing to do.
Every time I play against Daniel/exTune it is always a blast. I cant wait to play him against – maybe his new army?!?