Hey guys!
Another weekend, another time to try out some Conquest: The Last Argument of Kings games and builds.
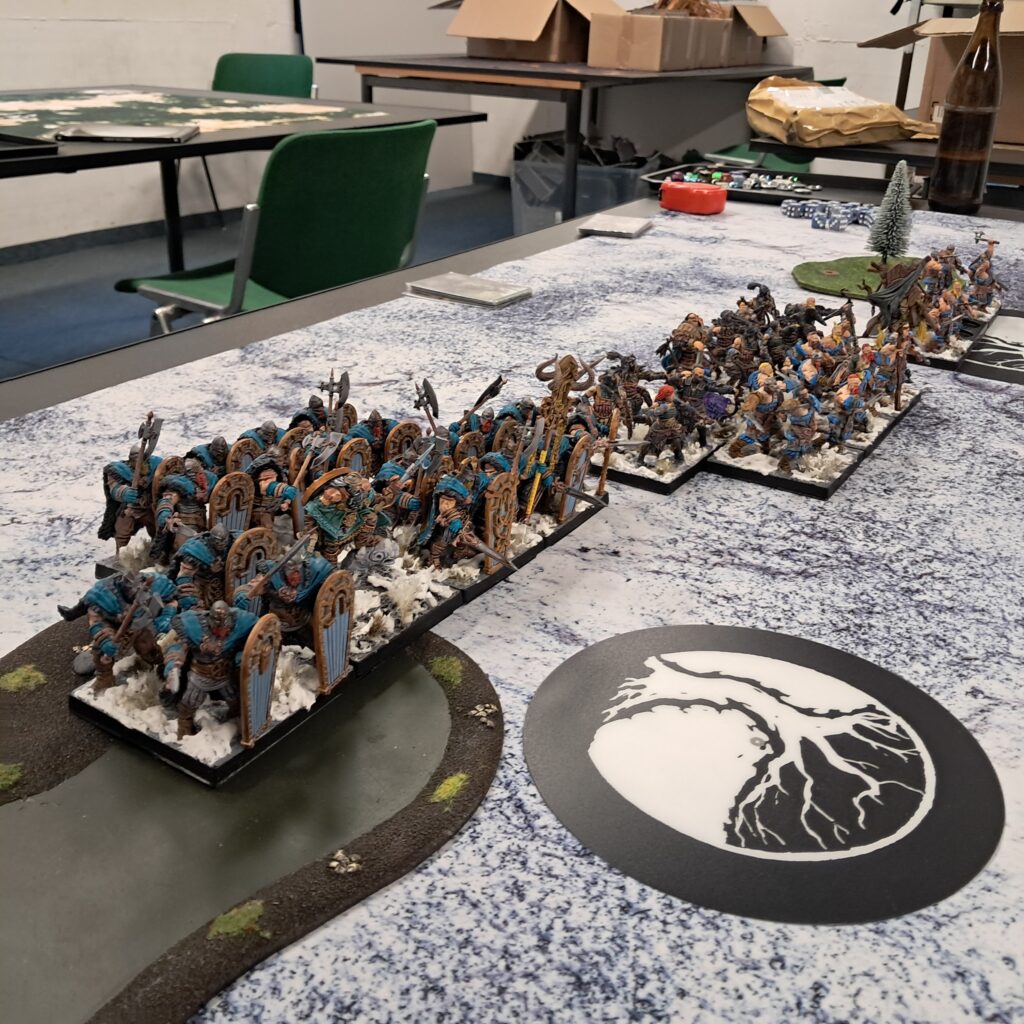
Today we have again Nords by me (it’s my only painted and built army so far :,)) vs 100 Kingdoms by Lukas.
I am excited to try out the new Nords against something else than Orcs and Dinos and made some small adjustments to the last List still with Jarl as Warlord!
=== The Last Argument of Kings ===
Get your Jarl strength on! [2000/2000]
Nords
== Jarl [110]: Occultists Charm
* Raiders (3) [130]: Captain
* Raiders (3) [130]: Captain
* Steel-Chosen (3) [160]:
* Bearsarks (3) [160]:
== (Warlord) Jarl [150]: Ty Jokull, the Rimeheart, Lessons of the Jotun War
* Raiders (3) [130]: Captain
* Raiders (3) [130]: Captain
* Bearsarks (3) [160]:
* Huskarls (5) [250]:
== Konungyr [150]: Elding, the Skypiercer
* Bow-Chosen (3) [180]:
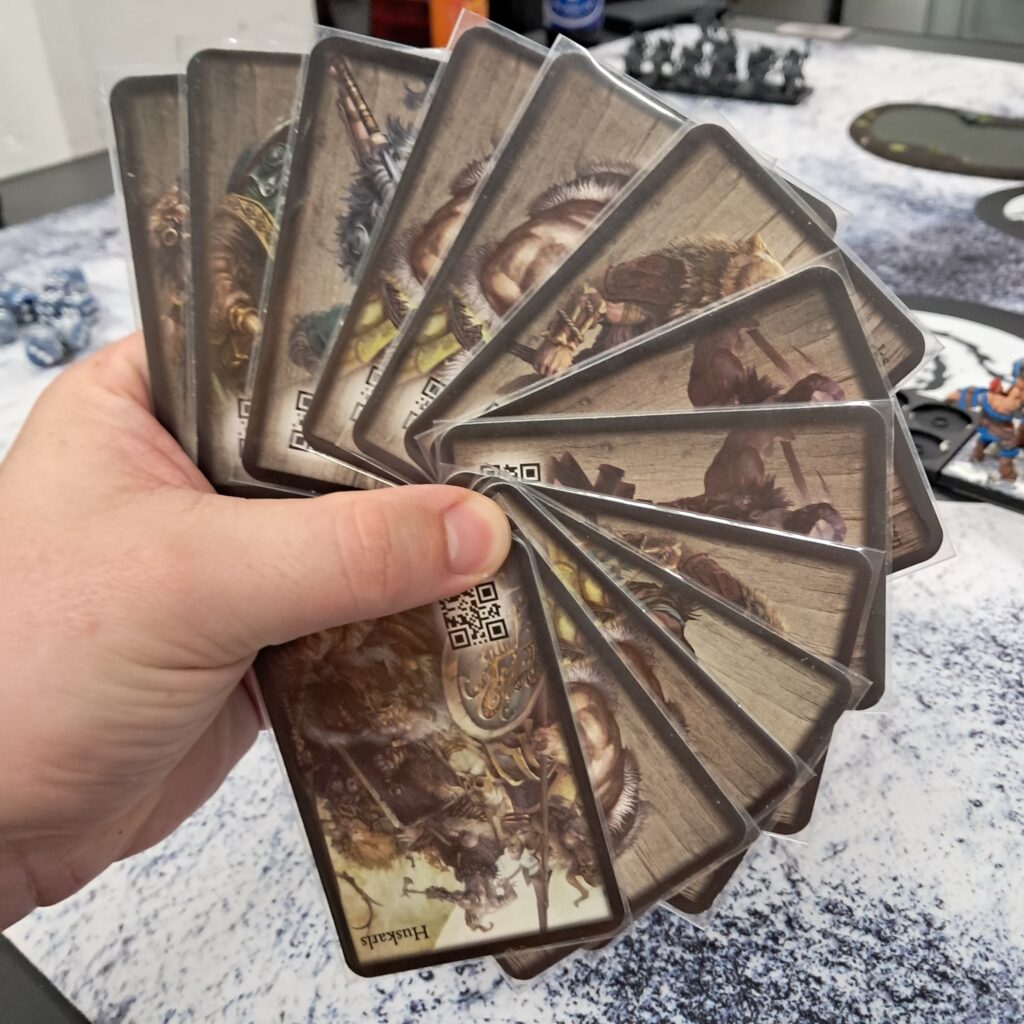
* Steel-Chosen (3) [160]: I swapped out my Shamn for a Konungyr with Elding because I wanted to stick some Bow Chosen into the list. Even though they got hit by a small adjustment with the patch, I still think they can be usefull, especially now ignoring Cover and still beeing a threat.
=== The Last Argument of Kings ===

NiceTry [1995/2000]
The Hundred Kingdoms
[object Object]


== (Warlord) Imperial Officer [115]: Art of War

 * Steel Legion (3) [160]:

 * Steel Legion (3) [160]:

 * Men at Arms (3) [110]:

 * Hunter Cadre (3) [170]: Null Mage


== Imperial Officer [90]:

 * Imperial Ranger Corps (3) [120]:

 * Men at Arms (3) [110]:

 * Hunter Cadre (3) [170]: Null Mage

 * Hunter Cadre (3) [170]: Null Mage


== Priory Commander (Crimson Tower) [170]: Dynastic Ally, Caledburn, Eccentric Fighting Style

 * Order of the Crimson Tower (3) [210]:

 * Order of the Ashen Dawn (3) [240]:
Lukas brought his rendition of MSU-style 100k: Crimson Tower and Ashen Dawn, as well as double Steel Legion, one with officer as his heavy hitting stuff another officer in his Imperial Rangers. Supported by some chaff of Men-at-Arms and Imperial Rangers and three Hunter Cadre stocked with the newly buffed Null Mage for some Flank on turn 2!
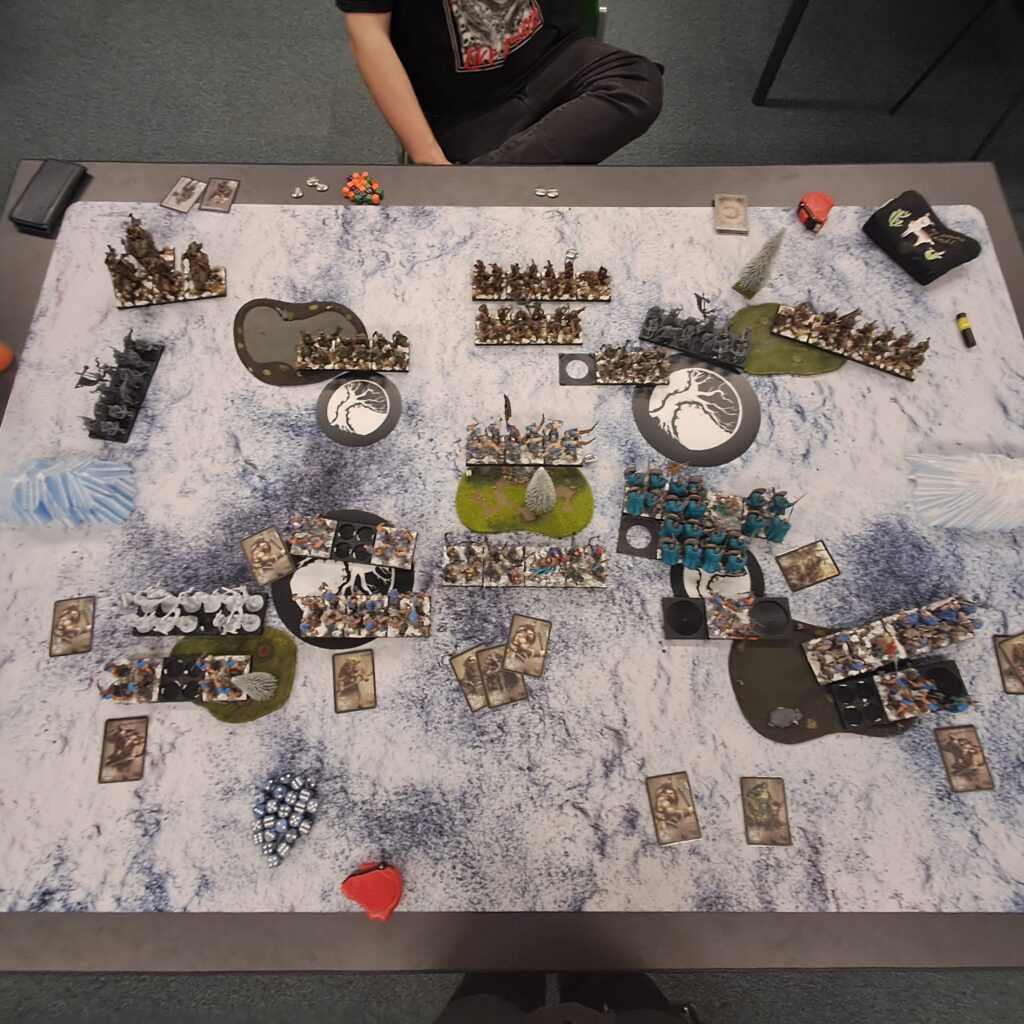
We played the scenario: Forlorn Hope
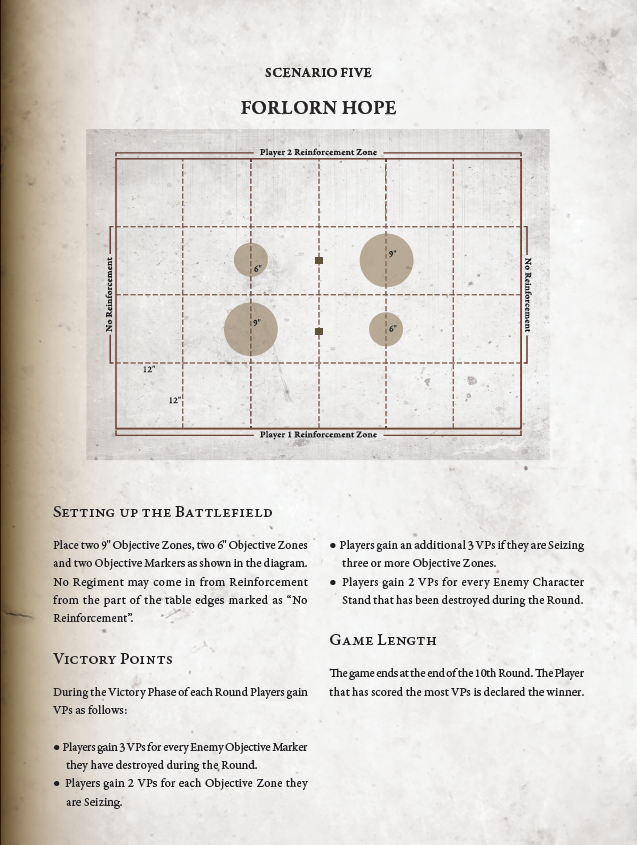
Basically you have to make a play for three zones to get ahead, still control your objective marker and control your own zones. The unique part is the no Reinforcement from the sides at 12′ making it often a bloody battle face-against-face in the middle.
Personally I quite enjoy playing on Forlorn Hope, because you have to have a playn for pushing out of your zone, maybe try and snag the objective marker on your opponents side (some armys can do that!) and generally keep a nice engagement line. It’s hard to catchup in this scenario when your opponent got one round of three zones or the objective marker, because the bonus points are only for characters!
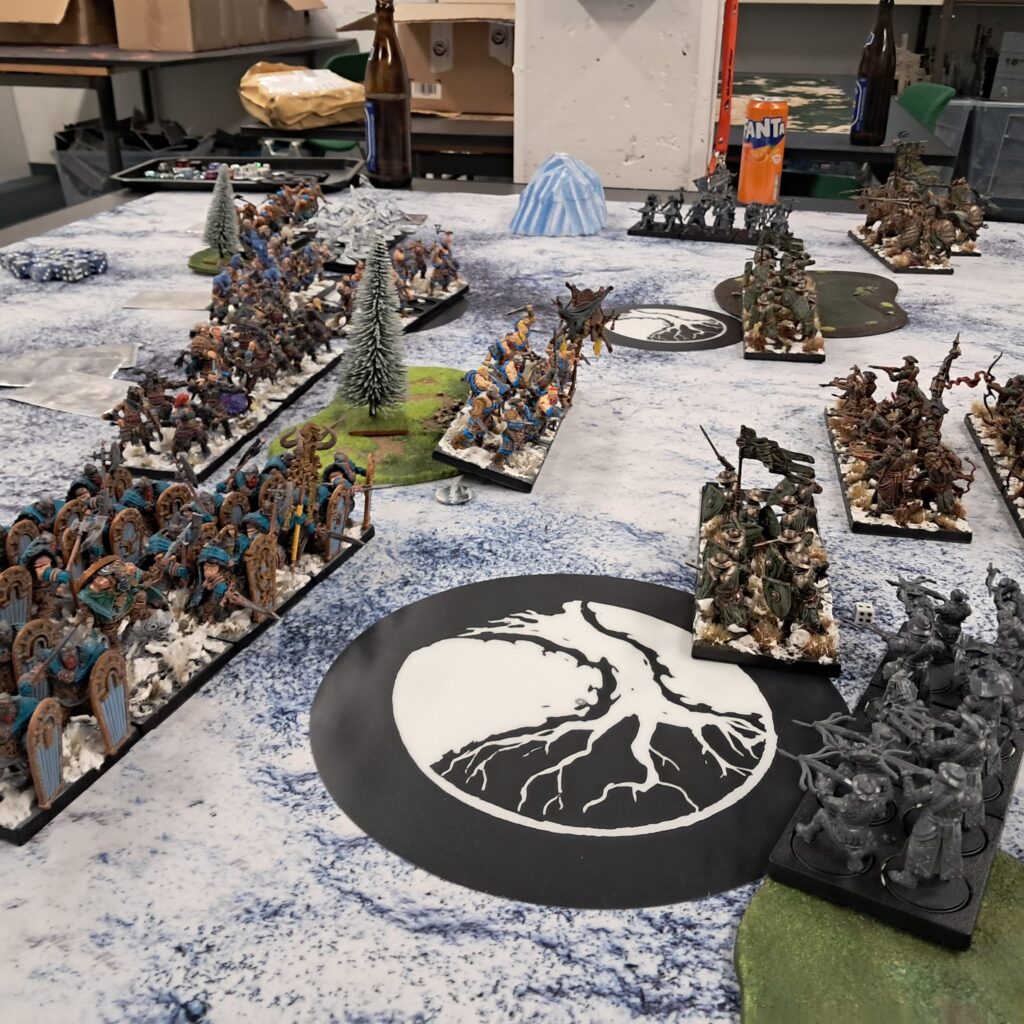
Turn 1
First thoughts again at Forlorn Hope: only two zones which I want to score reliably on turn 2, so deciding on two raider at medium two at light. Picking Bow Chosen + Konungyr and rolling only one raider in, again those darn 6 😀
Opponent got his Rangers in.
We both went for the objective marker right in front of us, trying to setup a quick kill.
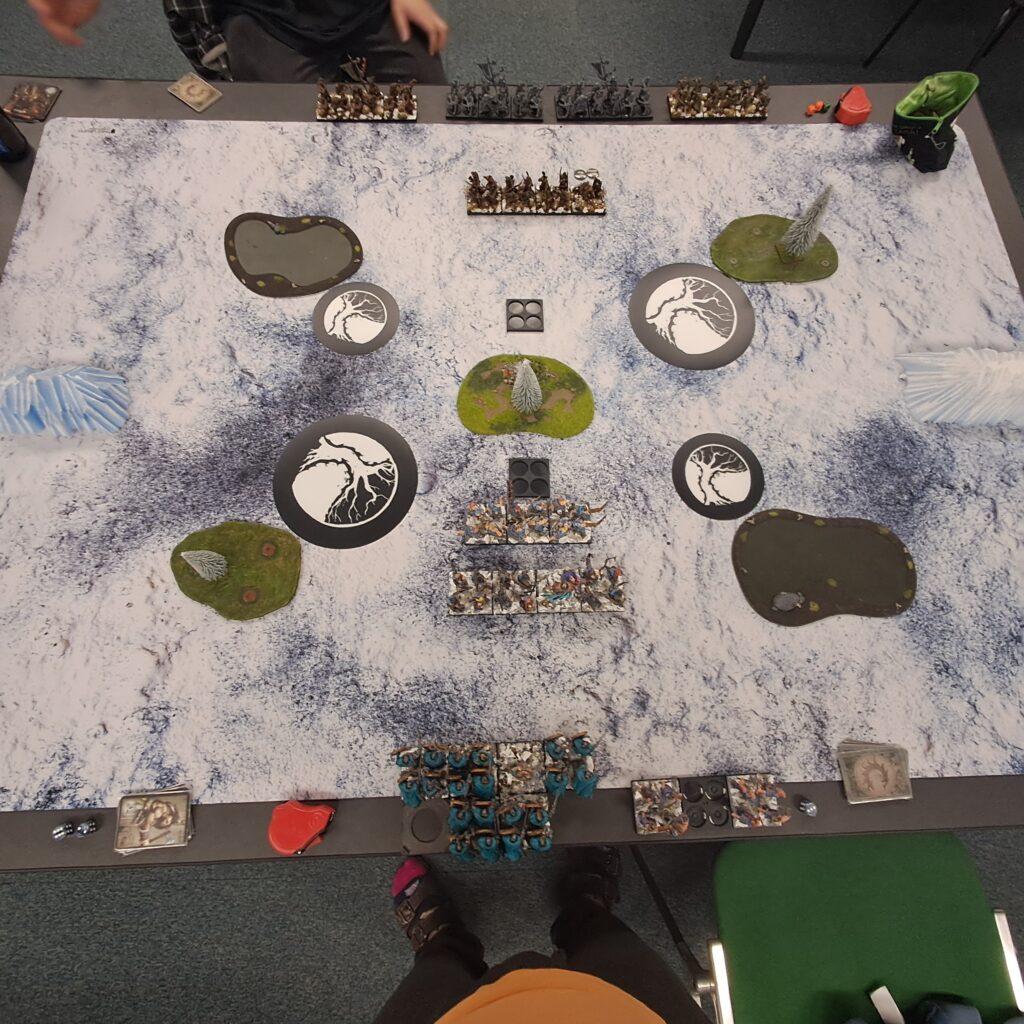
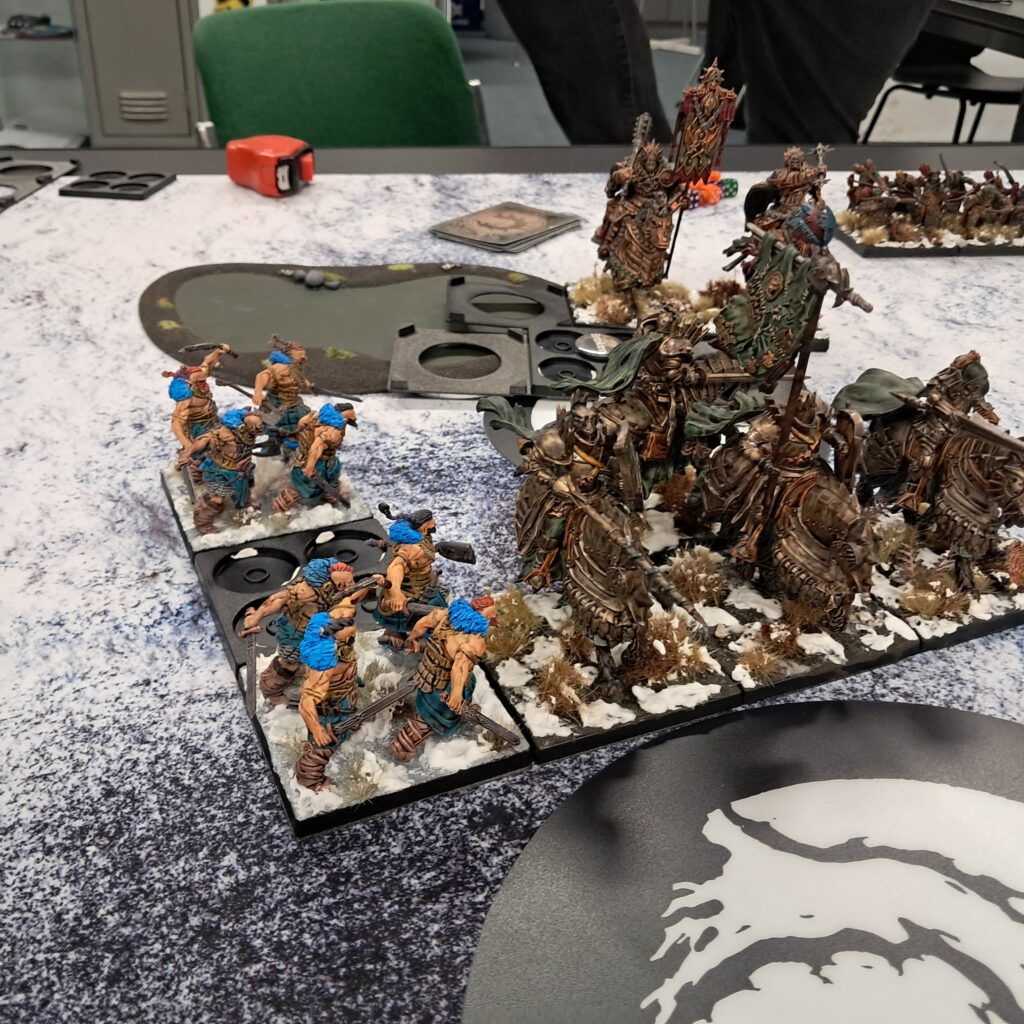
Eyeing eachother through the winter woods!
Turn 2
My reinforcement was….pretty bad: my Huskarl block got in with Flank and I picked one Raiders. I failed my light Raiders (again) and got zero other medium in…. rolling on three. That stung a bit.
Especially as Lukas had three flanking Hunter Cadre coming on as well as picking one of his MaA to go scoring this turn, with the Vanguard buff from his Imperial faction it was quite it easy to get ahead for him.
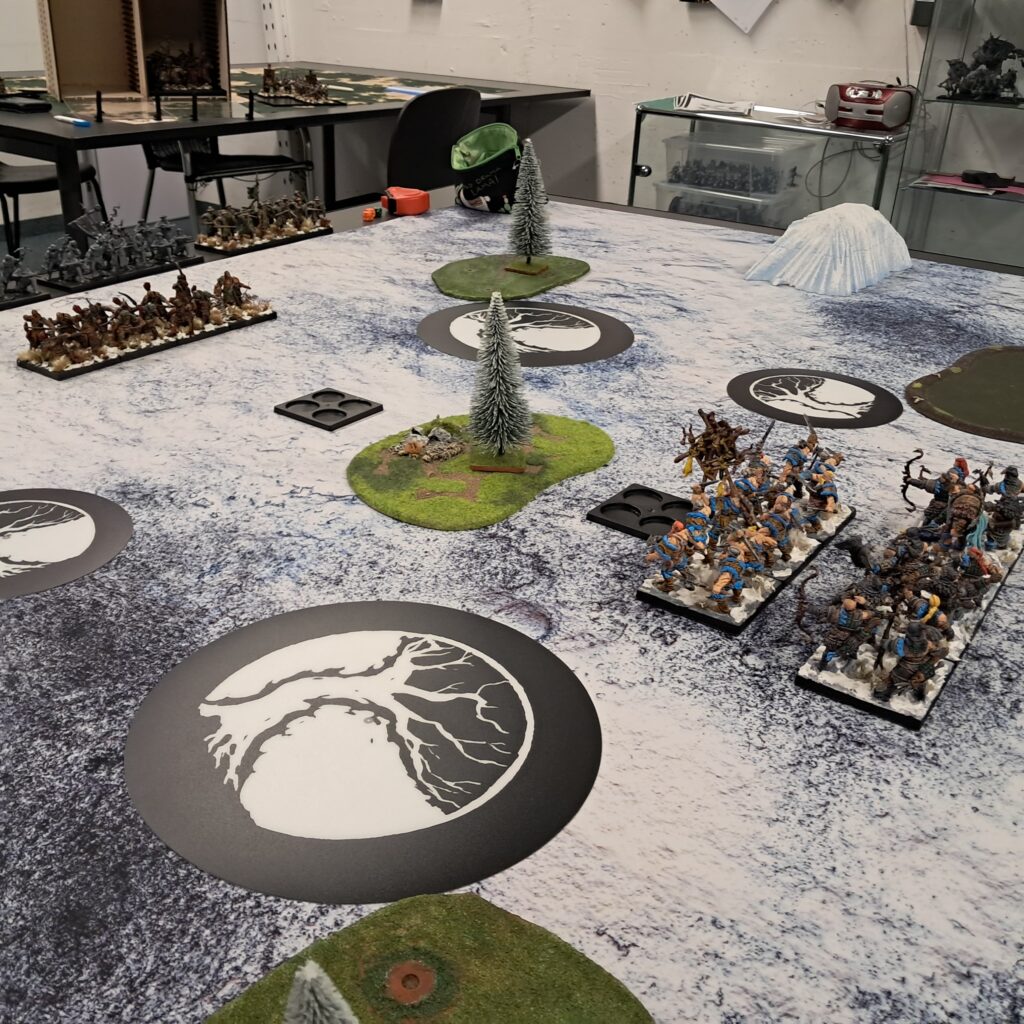
Another setup turn: I destroyed the objective in the middle, Impacts from Raiders (only 1 hit, but it was enough), Clash and Shooting from Bow Chosen was enough to secure it.
Then setting up my Raiders on the left zone to score and my Huskarls on the right side to go against his ranged units, thinking D4 with RR6 and Hardened 1 should be good at stalling out some pinging shots.
Scoring went four points for 100k and five points for Nords: 5:4
Love the huge Huskarl wall aesthetics!
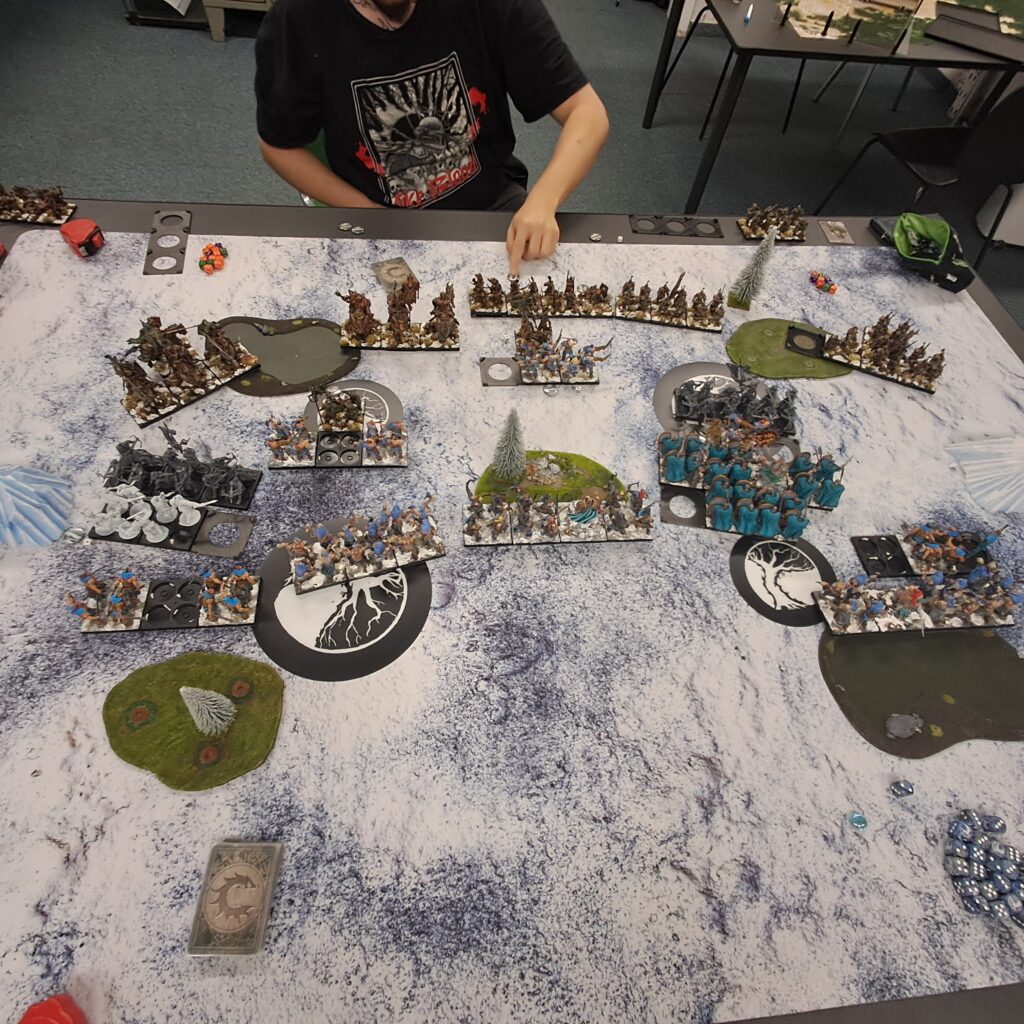
Turn 3
Going into turn three was different with my reinforcements: everything came on the table now. Rolling on 5s for my mediums and flanking one Bearsarks and picking the other feels great.
Lukas picked his Crimson Tower, flanked his Steel Legion and tried to get another heavy on but failed at the reinforcements. He also got his remaining MaA MSU on.
That meant I had the activation advantage this turn and could try to setup some Juggernaut threat for turn 4 if I saw the need for it.
Stalling at first and then setup with my last four regiments of Bow Chosen, Raider, Raider and Huskarl was my plan for this turn.
Even though I eyed his objective marker for a second with my left Raiders and Bow Chosen, I decided against that risk and went with the plan as described above.
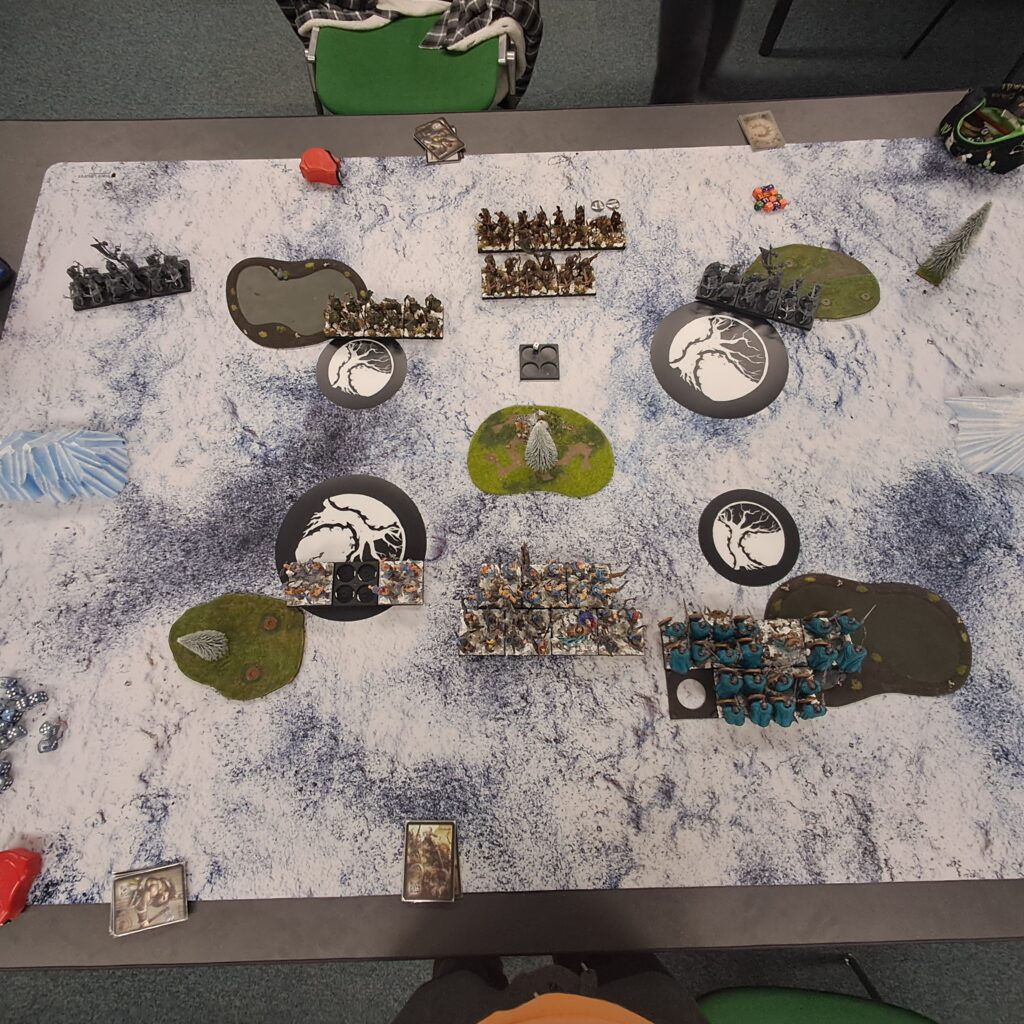
Lukas had won supremacy and chose to go first to and decided to quickly kill his marker with Rangers and Cadre to stop me from even trying to snag it. I stalled the first part of the turn as planned. Setup my left side after seeing the Crimson Tower there with more Raiders as screen, behind them Steel Chosen and Bearsarks. On the left side I reinforced with Raiders who were ablte to jump over my Huskarls to be on the zone, as well as reinforcing with the bigger Bearsarks and Steel Chosen behind them, as Lukas put his Steel Legion in the right forest ready to clash with my Huskarls there.
And then I began my setup: I went with my Bow Chosen up and shot his MaA on the right side, dealing 6 wounds, thanks to Sureshot and Precise shot. Then I tried a March+Charge with my Raiders in the middle onto his Hunter Cadre on a 5, but missed it. Didn’t care much if I missed it, I was still in Juggernaut range next turn.
My Huskarls also went forward to threatend a Juggernaut charge on his Hunter Cadre or MaA and on the left side I positioned my Raiders to threaten his MaA on his zone with a Juggernaut charge.
Scoring went four points for Nords against seven points for 100 kingdoms. 9:11
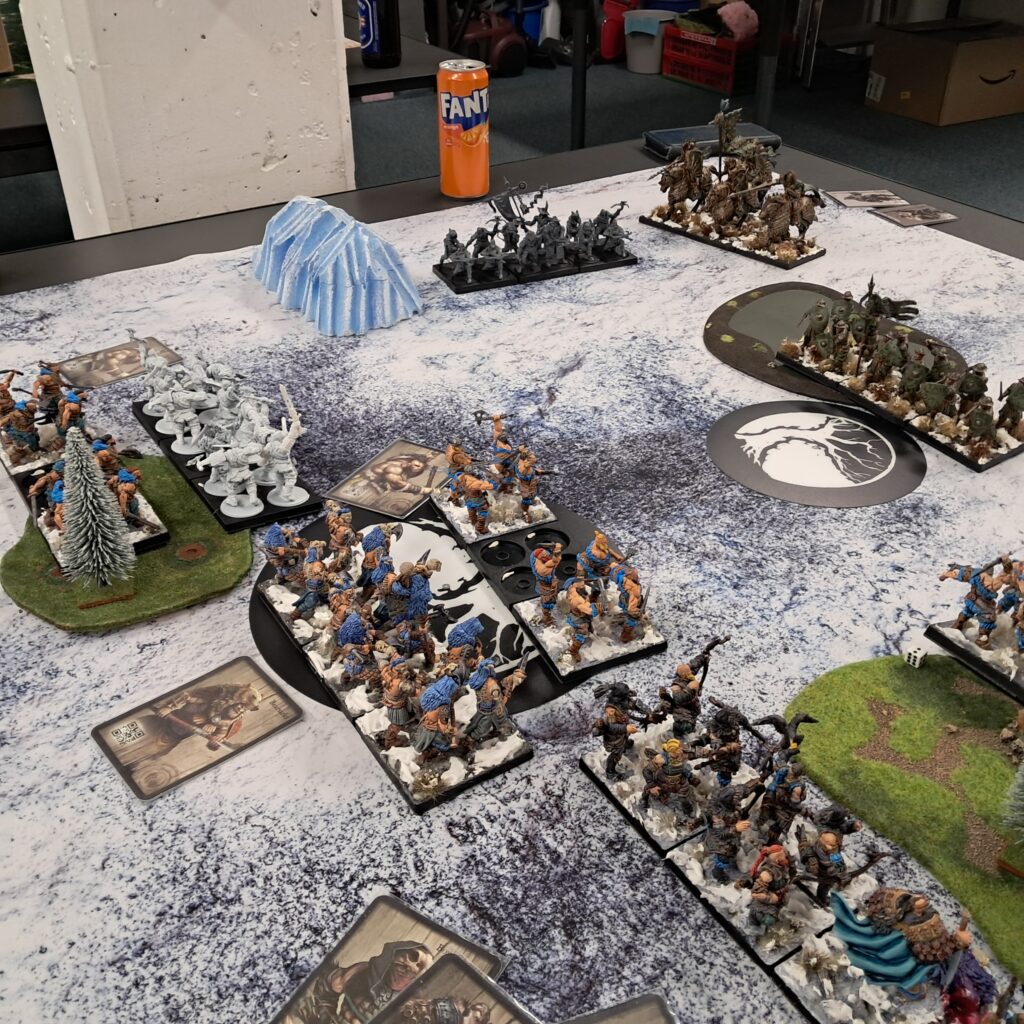
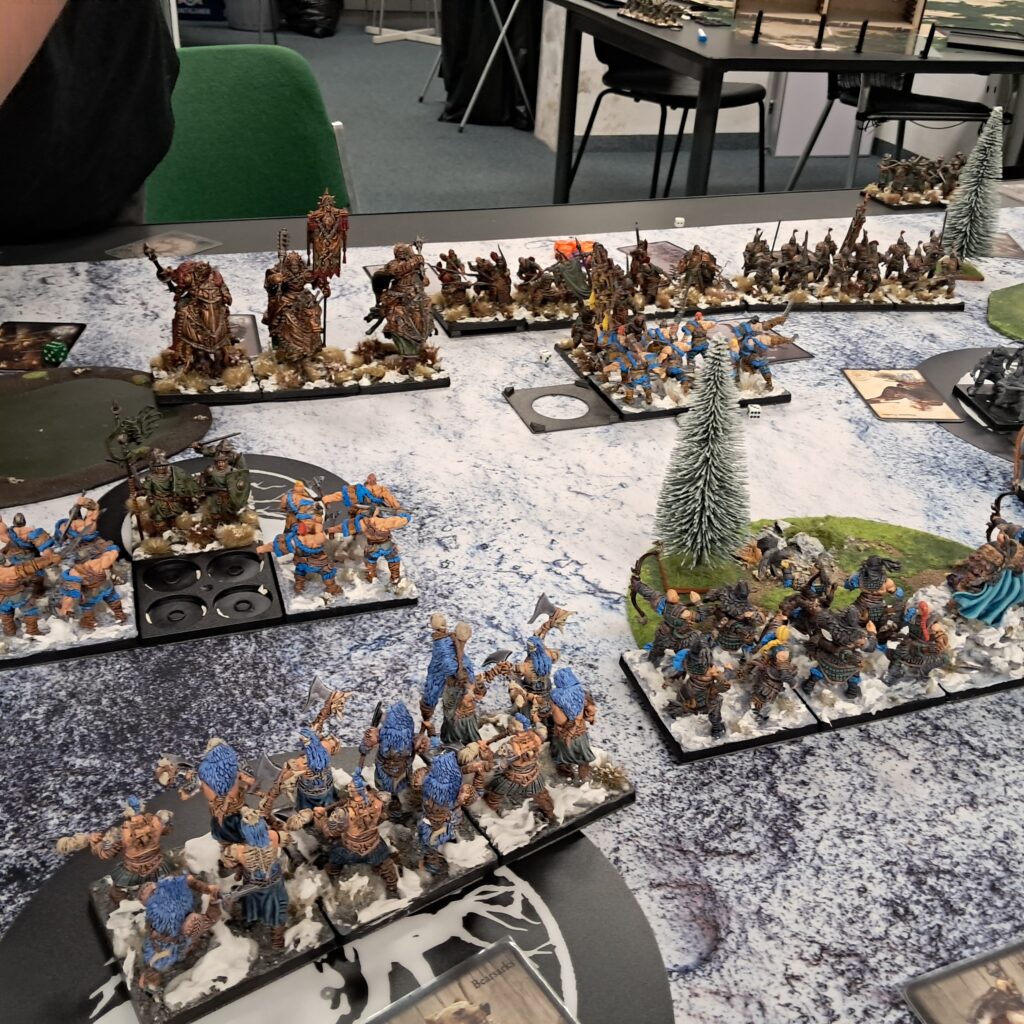
Left Flank, ready for bloodshed!
Engagement lines forming up!
Turn 4
Okay, the plan was setup, time to jump at it. Lukas got his remaining Ashen Dawn as a pick and Steel Legion in.
I won the surpremacy roll and I chose not to activate my supremacy as well as any Tribal Tactic. I was setup to do damage, whoever I thought I could hold off for one more turn before the real melee begins.
First activation where Raiders in the middle, charging straight at the Hunter Cadre in front of them, killing 2 stands and leaving them broken. He countered with his own Hunter Cadre and choosing to use the broken one, which just barely did anything against the Raiders.
Nextup I had my Bow Chosen marching up again and shooting the right hand MaA and killing the remaining 6 wounds. His next card were Steel Legion and he set them up on the right side. I activated my Raiders on the right Side to entice him to move up with his Hunter Cadre, which he did and killed 2 stands of my Raiders.
Next, where another Raider card, this time I went with my left hand Raider to march up a bit and trying to protect my more valuable Steel Chosen and Bearsarks from a Crimson Tower Charge.
MaA were up next and he had to activate his regiment on the left side and decided to take the offense with a March+Charge on a 6 onto my Raiders straight ahead of them, but failed leaving them stranded on their zone and juicy pickings for me.
Then we stalled a bit in the mid-activation here until I had my last Raider charging into his MaA and clashing them to one remaining stand, so I had control over the left hand zone. My Huskarls went up straight to my Raiders brining me 3 stands on the zone to contest the zone on the right side. Steel Chosen and Bearsarks on the right side bid their time and setup: Steel Chosen in 11′ to his Cadre for Juggernaut threat.
On the right side my Raiders where charged by his Hunter Cadre, but they completely blocked all 11 of their hits with six rolled 1 on my side. Not killing them left his Crimson Tower in an awkward spot: either charging my Raiders on his left zone, leaving them open for a Sarks/Steel Chosen charge or staying behind a bit, Lukas chose the latter and did more setup.
His Ashen Dawn came straight at the left side on the table, but weren’t doing much this turn.
Scoring this turn went nine points for Nords and zero for 100 kingdoms, for an 18:11 for Nords.
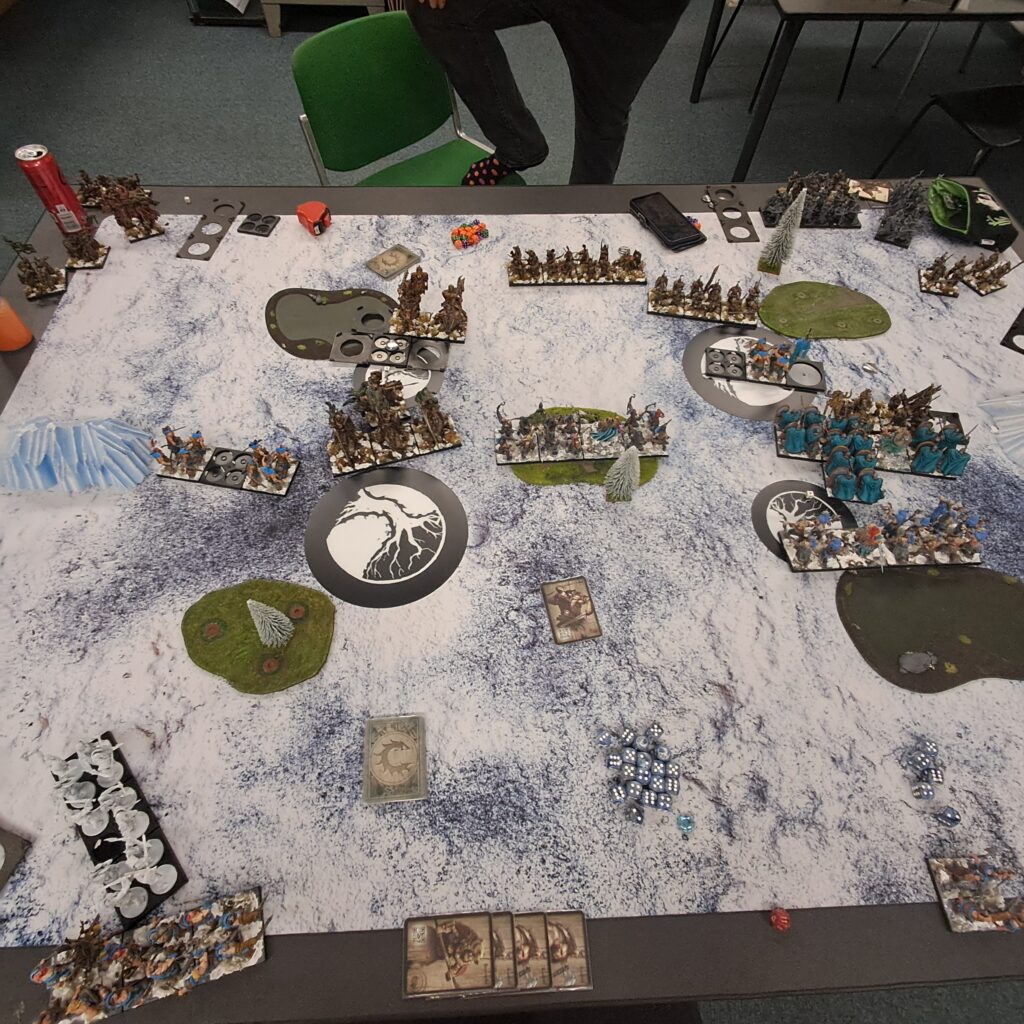
The great clashing begins!
Turn 5
I stalled my supremacy but now was the time: I had a huge array of my units in range, from Raiders to Steel Chosen, Huskarls and Bearsarks and getting the Inspired could be huge for my already engaged Raiders. And top it of with Tribal Tactics and Relentless Blows, yummy.
I planned my cards to got first with my Raiders, followed by Steel Chosen depending on where I need them and then Bow Chosen to start pinging his Ashend Dawn. Afterwards was focus on the left flank activating last.
Supremacy roll went after three ties to me and I chose to go first.
Raiders in the middle went first rounding up his last stand of Cadre and going straight into his Rangers trying to tie them up and maybe going for a character kill.
He started with a Cadre and went with them on the left side, killing my Raider with a Inspire+Clash.
He had his Rangers next, killing my Raiders, which took me a bit by surprise. However I countert with my Raiders on the left side which where engaged with the last MaA stand, killing them and moving them up to block his Ashen Dawn form coming onto the zone, which was huge.
Nextup was his Hunter Cadre on the right hand side, killing my remaining Raider stand.
I Had my Bow Chosen shooting the Ashen Dawn and after rolling 21 shots, a few of them precise, I managed to snag a stand of them, nice shots boys!
He stalled with heroes and Art of War next. I brought my Steel Chosen down onto his Cadre on the right side, deleting them. His Steel Legion charge+clashed into my Huskarls after that, but d3+Hardened+RR6 is good enough to only get one stand killed. They where up next, where Inspired by Jarl, leavin me to Reform and Clash on C4, killing 2 stands of Steel Legion thanks to all my buffs. Take that Zweihänders!
Nextup where my Steel Chosen on the left side rumbling into his Cadre and deleting them (Have I mentioned Flurry+Relentless Blows is ridiculous?)
Then I tried to be sneaky but missed him having not activated his Ashen Dawn and Crimson Tower yet: I placed my Bearsarks that he wouldn’t be able to see me if he charged into the Steel Chosen, because the engaged Raiders/Ashen Dawn fight would block the Crimson Towers.
However his Ashen Dawn then clapped my Raiders, leaving them with 1 stand but killing them enough so my Bearsarks where open to a march+charge from his CT wiping them, however they where not on my zone this turn.
This was basically the turn a huge slugfest, scoring went four points to zero for Nords making it a 22:11.
Turn 6
Ok, tryin to bring it home now. Right flank was basically won, his remaing small Steel legion wouldn’t do much as I had Bearsarks even as backup.
Left flank would be depending on where he goes with his CT if he won surpremacy, otherwise I would flank charge with my Steel Chosen and basically giving me the win there.
Tribal Tactics this round where Take their Flanks!
Surpremacy went to me, I activated Steel Chosen and they wiped the CT.
That was when Lukas gave up, seeing the board state and my already point lead.
22:11 for Nords!
Linebreaking, Flurry, Fury, Flanking Steel Chosen hurt
Closing thoughts
Man, I love the Jarl! Flanking, giving me solid reinforcement, even getting Inspire on the right turn is clutch. And only getting once Relentless Blows seems enough for now.
Loving the pressure style you can play now with Nords, as it should be. Raiders are top tier, pressuring my opponent hard, even trading up easily against his units.
I am very happy to be a Nords player right now! (It needs further testing against other factions though 🙂 )
I hope you enjoyed this war report. If you did maybe leave comment or feedback for us!
See you in Eä!
Daniel “Extune”