
Game 2 – Kukster with Dweghom on the scenario Off-Balance
So game 2 against my dreaded enemy Kukster! Seemingly everytime we both are at tournaments we get paired against eachother and for now Kukster always had the upper hand in our matches haha!
I dreaded this Tempered list, because it had chip healing and enough shooty and high defense stuff, where I wasn’t quite sure how to get through beforehand. I needed to keep my Bow Chosen safe and hoping for the best against his Steelforged. His Stoneforged wasn’t really killable with my list, so trying to block him out of the game was the plan beforehand.
The scenario was again not in my favour due to no turn 2 scoring possible and two big zones, where he could put his two big anchors. However he had not much in the way of breaking through my Huskarls except his Steelshaper with Smite ontop of the Stoneforged!
Apologies here, I only made fotos for turn1+2 🙁 Its rather hard to stay focused for me, hope you still enjoy the match!
His List:
=== The Last Argument of Kings ===
tempered [2000/2000]
Dweghom
The Tempered Creed
== Warlord Tempered Steelshaper [135]: Champion’s Horns, Ferric Throne
* Inferno Automata 3 [180]:
* Inferno Automata 3 [180]:
* Stoneforged 1 [230]:
* Steelforged 3 [210]:
== Lost Ancestor [125]: Steel School, Bloody-Minded Focus
* Fireforged 3 [160]:
* Steelforged 4 [280]:
== Tempered Sorcerer [160]: Gifted in Fire, Fire School, Hellbringer Sorcerer
* Fireforged 3 [160]:
* Hellbringer Drake 1 [180]:
Turn 1:
I chose all my Raiders as lights, and everyone came in as well as Bow Chosen. He got his two Inferno Automata. We did some staging, I tried to keep my Bow Chosen on the hill behind the Objective Marker safe, he deployed both Automata ready to roll onto the zones. My Raiders where spread out two to each zone, the Shaman in the middle for the interference bubble as protection.
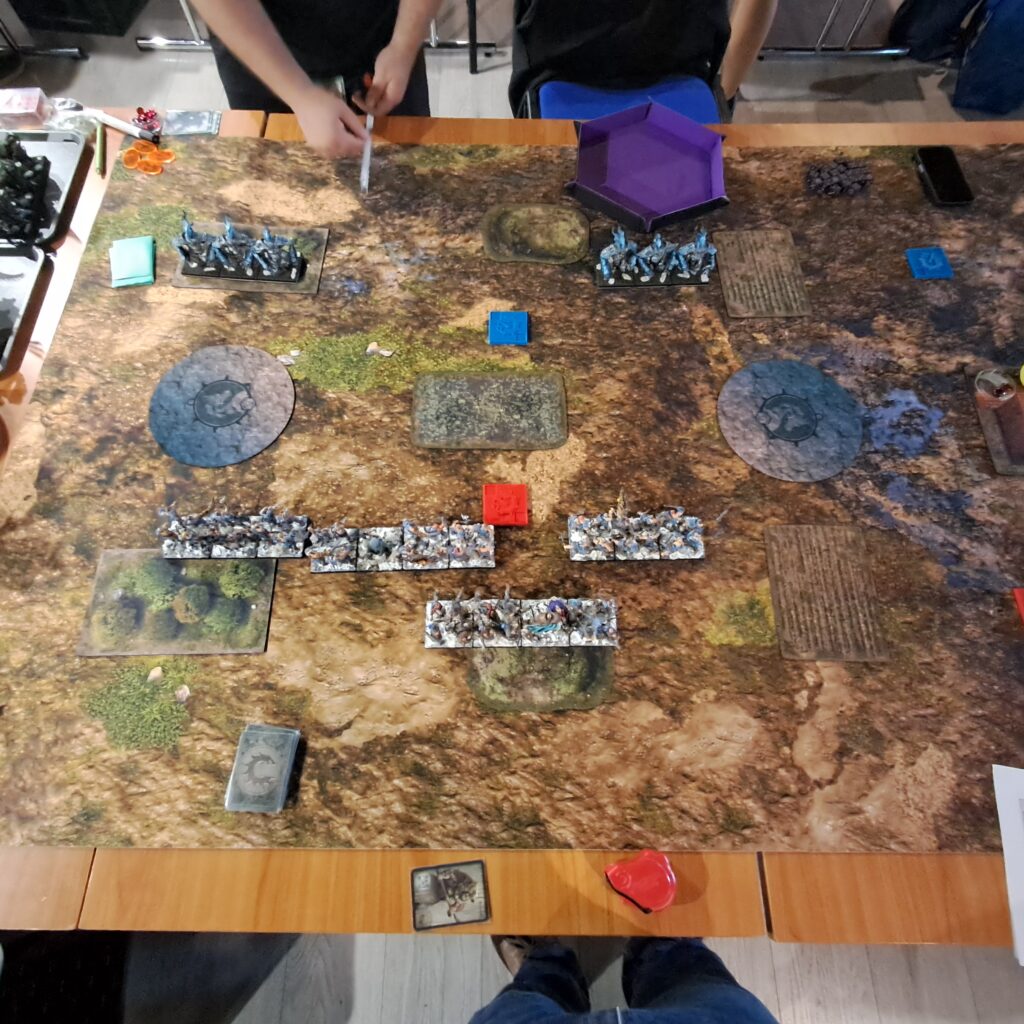
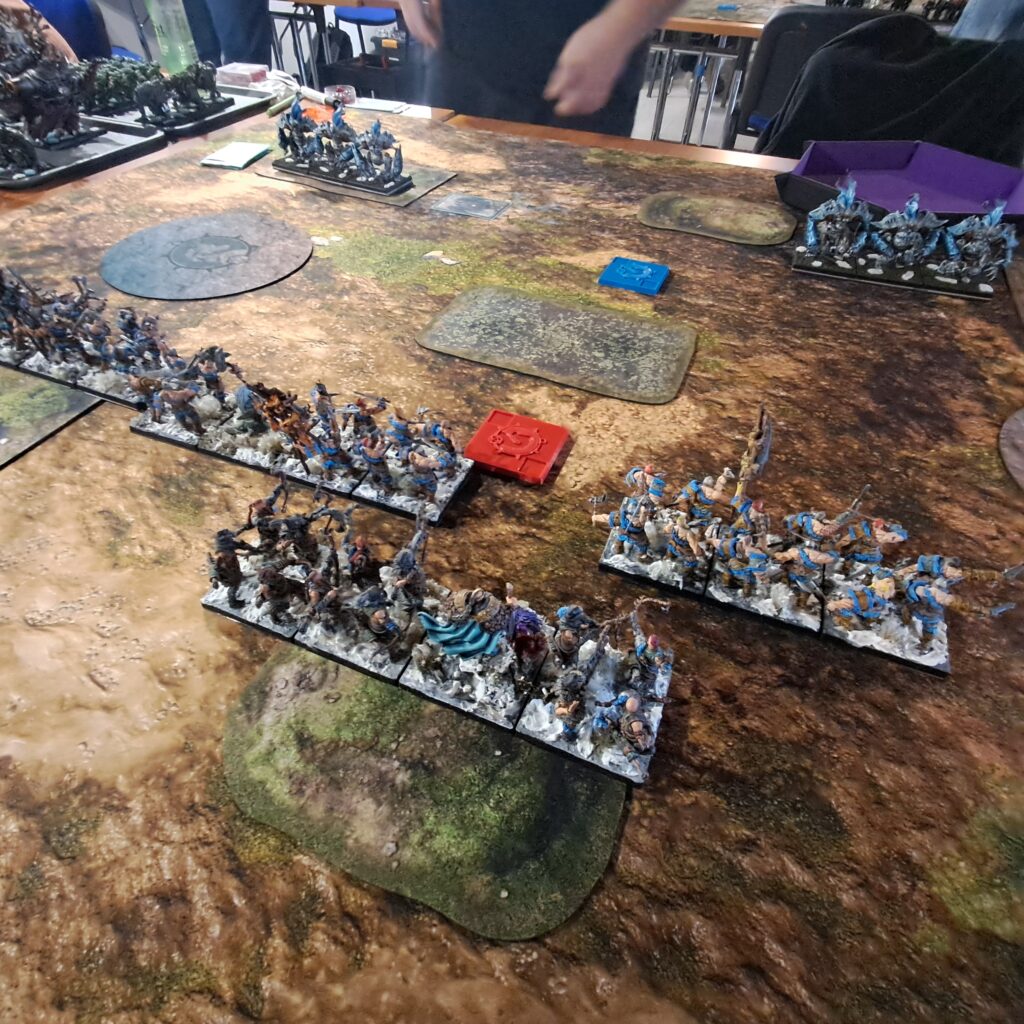
Turn 2:
I got my Huskarls and two SC in, he got his big Steelforged and his Drake + Wizard + Fireforged in.
So I had the activation advantage and tried baiting him in with his right Inferno Automata, using my rightmost Raiders and tilting them a bit. He chose to take a March+Charge with them and a few Impacts later I lost one stand of Raider, however now I had Steel Chosen up and coming to clap the Automatas next turn. The other Steel Chosen I deployed to the right zone, ready to score next turn and my Huskarls went onto the left zone, ready to get on the zone next turn. He placed his big Steelforged rather central and the Drake on the forrest on the left side. Here I made a crucial mistake as I was moving my Raiders+Shaman a bit infront into the water to stop the Steel Forged next turn to come onto the zone cleanly. However this got me in Range of his Drake+Wizard.
No Scoring this turn.
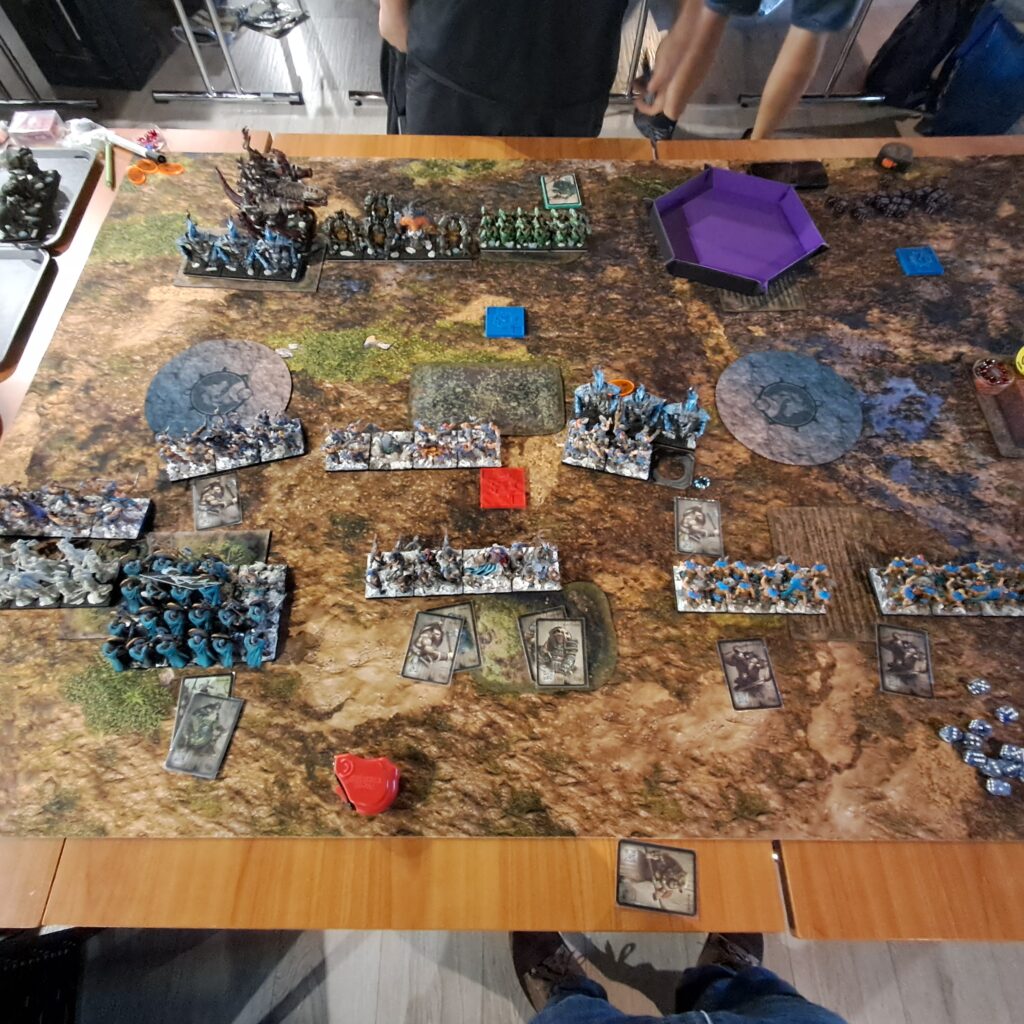
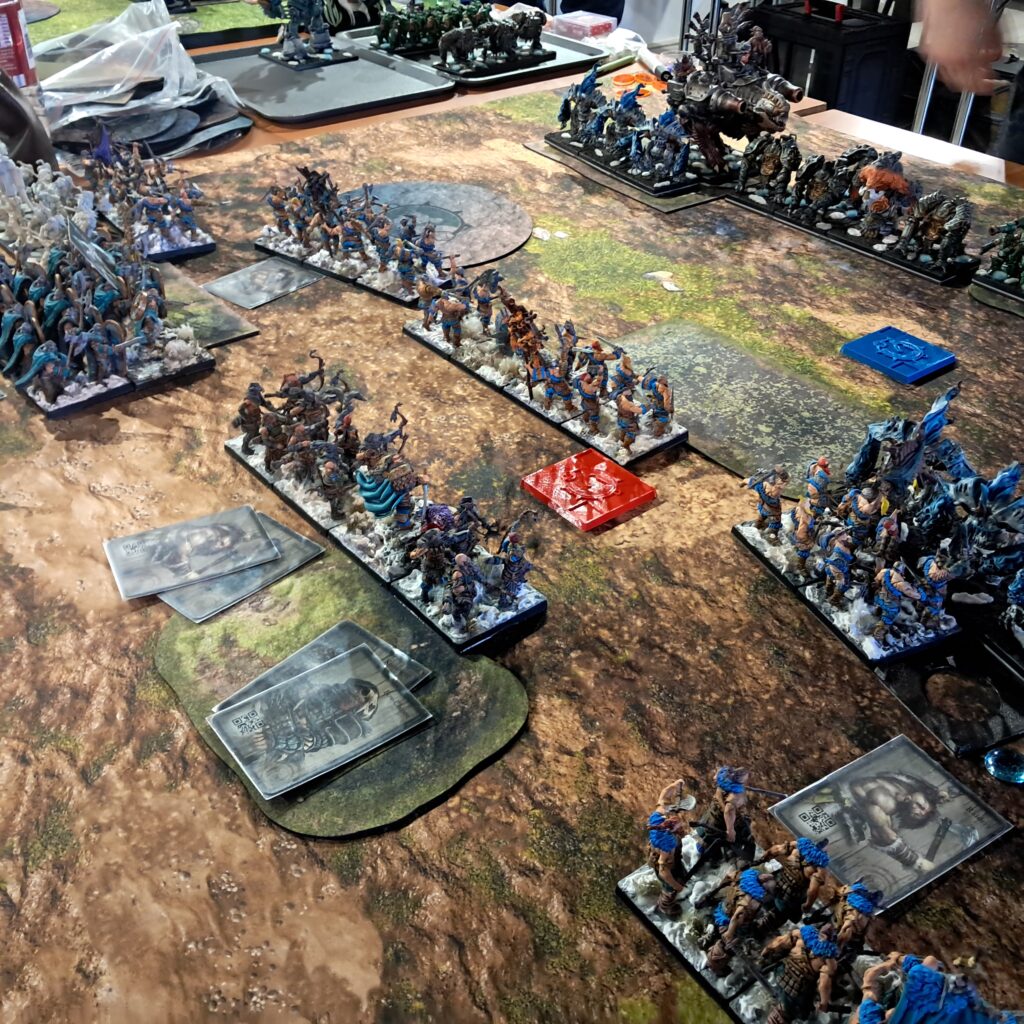
Turn 3:
I won surpremacy. No abilities used this turn.
I got my remaining Bearsarks and SC in, he got his Stoneforged and both Fireforged+ Steelforged in, so we had everything on the table.
My first activation went to the SC and countercharging his Inferno Automata, thinking I could easily decimate them a bit. With only two stands in contact I was able to only kill a single stand, thanks to Defense 3, damn! He went with his drake next shooting my Raiders+Shaman and decimating them. I forgot that E1 isn’t exactly dodging stuff.
Nextup where my Bow Chosen to finish off the Automatas, however only a few shots found their mark, I had to move them a bit to get more in range, so a single stand of Automatas was still alive, binding my Raiders and SC, damn that wasn’t going as planned.
His wizard on the drake then finished of my Raiders and my plan of blocking his Steelforged was rather foiled. Then we stalled a bit and put our units on: Bearsarks on the right side, behind my other SC, and my remaining SC on the far left side ready to defend the flank of my Huskarls.
His Stoneforged was placed on the right side one Fireforged on the left side and one central.
His bigger Steelforged positioned themselves a bit more forward, but not quite on the zone lacking the space and respecting my potential charge+clash of the Huskarls.
Then he went with a March+Charge onto my Raiders on the left hand zone, thinking of blocking my Huskarls behind them. The impact alone killed 1 ½ Stands of Raiders, and after I had to activate them the AoD finished them off, leaving the space open for a Charge+Clash of my Huskarls but still that wasn’t enough to finish the Automata off I had to also charge in with my leftside Raiders in the flank of the Automata, but only got two stands in attack range and they still survived, tanky bastards!
His smaller Steelforged where also coming on the right side in to try and cap the zone next turn.
Scoring went two zones for me this turn. 5:0
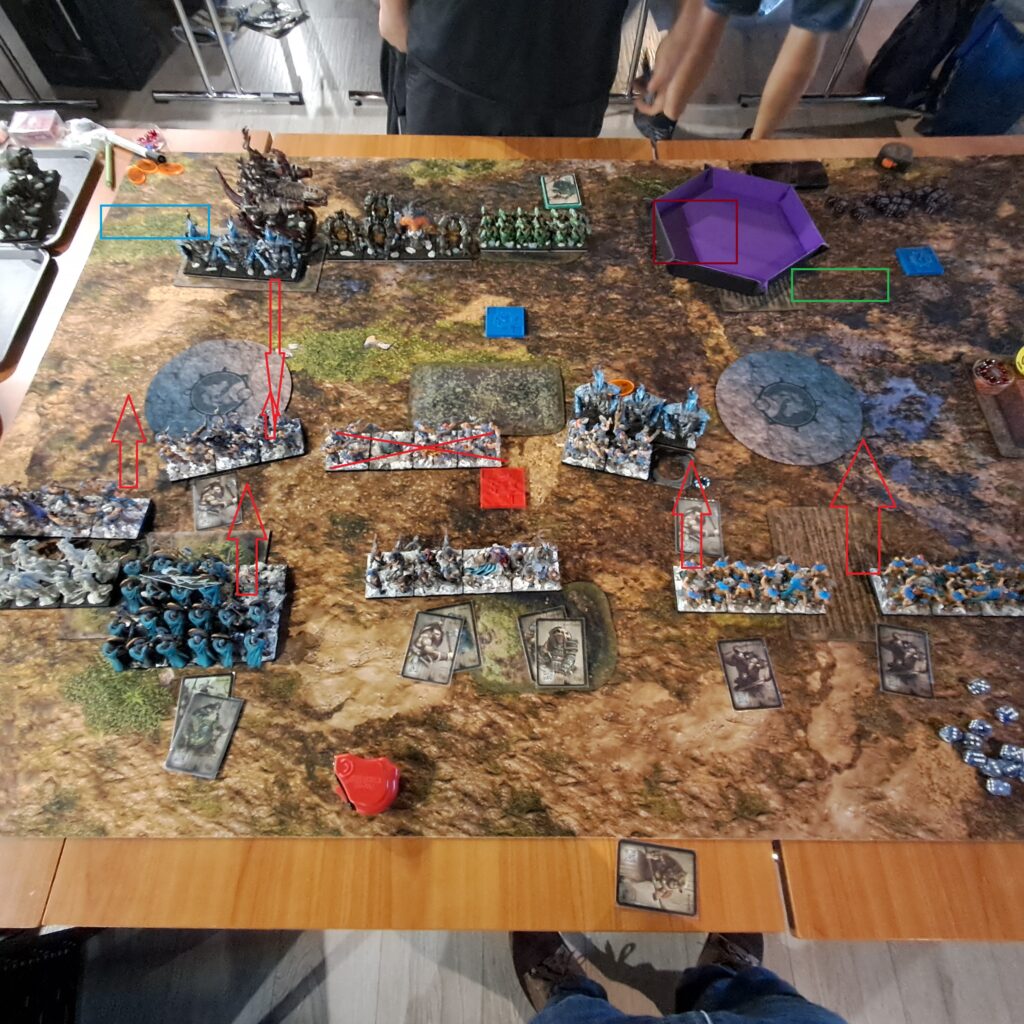
No picture, just a few skribbles, sorry!
Turn 4
Okay, this was a crucial turn, he won the surpremacy and decided to go first, I activated my surpremacy + Relentless Blows thinking that I would need it this turn as the engagement lines where rather set now.
He went first with his Caster on the drake, wizarding away with bonus levels to ensure the kill on my sweet Raiders in the flank of the Automata on the left hand zone.
First activation for me went to my Bow Chosen to cleanup his single Automata freeing my SC and single Raider stand up to cause some havoc!
Nextup his firgeforged in the middle shooting into my remaining central Raiders dead, which hurt quite a lot, leaving my middle line open. I went with my single Raider stand doing a double march right infront of his Stoneforged to block him in, as he had no other regiment ready for them.
His drake was next doing a bunch of shooting into my Huskarls, but not doing much. Nextup for me where my Huskarls Inspire+Clashing the Automata away, getting their Bastion up and running.
We stalled then for a bit, and he had to move his Steelforged on the left side first charge+clashing into my Huskarls. However their Bastion and Hardened and Tenacious Thegn let them basically shrug of everything, which felt nice!
My SC on the lefthand side had space and charged the Steelforged into the side but due to space issues I only could contact two stands and they did a bunch of damage with RelentlessBlows+Flank to begin the shreeding of the Steelforged block.
He had to activate his Steelforged on the right side next march+charging up to get on the zone against my SC. The impacts tickled a bit and I counter activated my SC clapping back and proceeding to kill two stands of Steelforged and breaking them, nicely done guys.
His Stoneforged had to cleanup my Raider with his clash, the Impacts weren’t enough and he was basically blocked for turn 4. My Bearsarks also where in a bad position, as I made a positioning error and blocking myself in with the right SC.
Last activation where my central SC doing a march+charge onto his central Fireforged to try and bait him into going for them with his Stoneforged next turn.
Scoring went only the right zone to me, the left zone was contested because of his Steelforged to my Huskarls+SC on (my Huskarls here also weren’t positioned well so I only got three stands on…)
7:0 for me
Turn 5
Crucial turn, as I had not the same staying power as my opponent and his heal. Getting through his units is super hard.
I won surpremacy and I chose Tenacious +1 for my tribal tactics and he used his surpremacy ability to get more tokens again.
I went first with my Huskarls to get my Bastion up and running, tickling the Steelforged. He activated his righthand Steelforged, Awakening and healing them killing one stand of Steel Chosen. I then countered with my righthand SC clapping into his Steelforged again, but also only tickling them, even though I flanked them!
He then shot those SteelChosen to pieces with his Fireforged+Drake+Wizard leaving my Huskarls against the Steelforged+Lost Ancestor on the zone. My Bow Chosens time to shine, or so I thought, I moved and shot at the Steelforged but the arrows didn’t find their mark at all, which was worrysome.
My central SC where dueling the Fireforged and they basically did that until turn 7 after which I cleaned them up. Even with D3 and the chip heal they are tanky little dwarves!
Here I also made a mistake with my Bearsarks: As I was still not able to charge the Steelforge infront of Steelchosen on the right side I was impatient and moved them to get them into a better position against his Stoneforged.
My opponent then just march+charged with his Stoneforged into my Bearsarks and his Stoneforged could tip his toe on the zone on the right side, denying me the points. Huge positioning mistake from me!
Left hand zone went contested, righthand zone went to him for 7:2
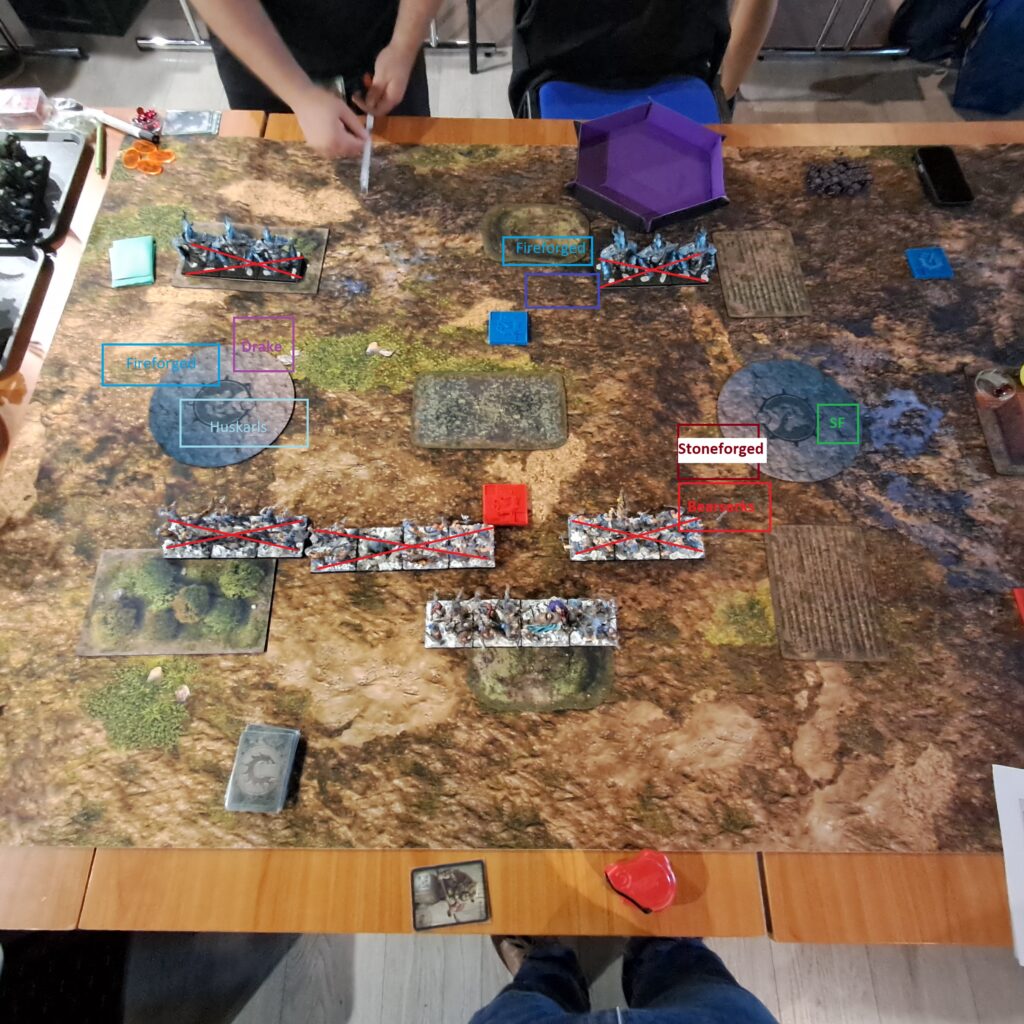
Turn 6
Here I won surpremacy, took the flanking Tribal Tactics and went first.
I chose my Bow Chosen to deliver the final blow to the Steelforged block and they actually rolled enough ones to take the last two stands out before they could activate and heal back again! Nicely done.
My Huskarls got shot, magiced and diced a bit by the Drake and Fireforged, which had moved up on the zone contesting and seizing it.
My SteelChosen tried one last hurrah on the remaining one stand of Steelforged on the right zone, but did not manage to kill him and he was then consequently healed back, which led to freeing up his Stoneforged to kill my Bearsarks and moving of the zone.
I tried to move my Bow Chosen up, trying to get some shots in against his Drake but had to double march first. My central SC dueled and cleaned the Fireforged up right behind his objective marker.
Scoring went 7:7 this turn.
Turn 7
This was rather quick, he got surpremacy, reform+charged my Bow Chosen with his Stoneforged and then I gave up, as he would then be able to score both zones all the time and I couldn’t stop him anymore.
We decided that I was able to get the objective marker and he scored the zones + objective marker for the remaining turns
Leaving me with a 11:36 loss.
Afterthoughts:
Damn! I made some huge positioning errors this game and to top it off I knew I had a hard time against this Dweghom list so my own mistakes didn’t help much.
Kukster is as always really nice to play against! In our dueling time I am now 0:3 and I cannot get revenge against him haha! Man, what a great game still and I am always happy to play against him, it’s just fun and good Conquest always!